Strip the coaxial cable and fit the F-connector with just one tool
You want to install a SAT system yourself, for example on the roof of a detached house? Or do you regularly have to install large multi-switches in apartment buildings? Or maybe you just want to fit an antenna cable with plugs in your living room and connect it easily to the TV device and the junction box. Whatever reason has brought you to us, in this article we’ll tell you which tools you should not be without for your project and how you can use them to strip coaxial cable and install F-connectors.
One tool, three functions
In addition to sound expert knowledge, the most important thing when it comes to electrical installations is the right tool. This credo also applies to SAT connections. Especially if you often have to install large multi-switches and have often had your fingers swell up from unscrewing the many F-connectors, a tool that makes the work easier might be just the help you need. Like, for example, our Coax-Stripper No. 1 F Plus.
The advantages?
- Thanks to the double incision, the tool can be used to strip coaxial cables with a diameter of 6-8 mm in just one work step
- Special gripping jaws make it easy to twist F-connectors onto the cable
- The integrated open hexagon with 11 mm spanner width ensures quick assembly or disassembly of F-connectors
How does the tool work?
Regardless of whether you only want to equip one antenna cable with connectors or whether you want to install a small SAT distributor, LNB or multi-switch – the use of the Coax Stripper No. 1 F Plus is always the same. Here, we show you how it works:
Step 1: Stripping the coaxial cable
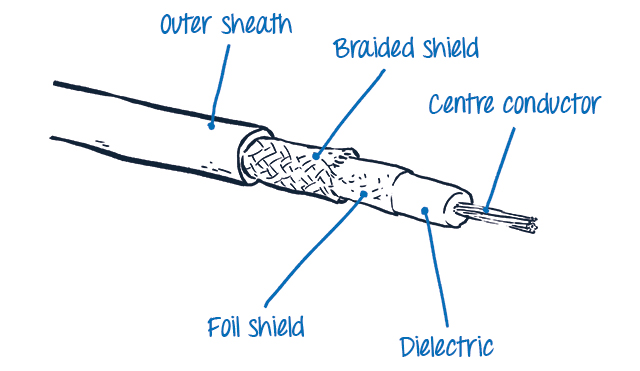
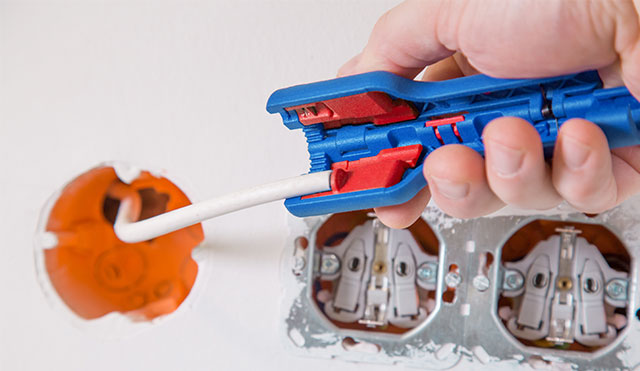
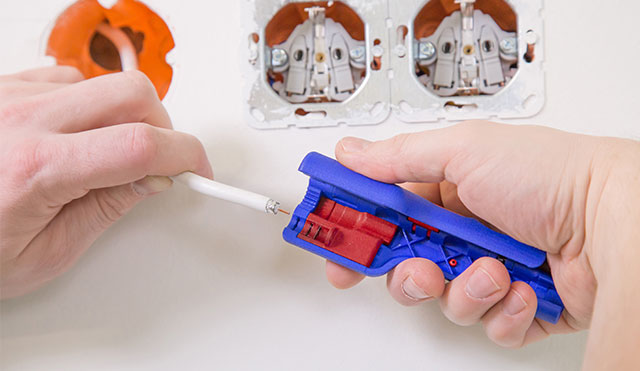
Place the cable as far as it will go into the recess with the two blades to strip the coaxial cable. If you then make an incision with two to three turns, you remove the outer sheath, braided and foil shielding as well as the dielectric in just one step. Then the inner conductor – also called the core – is revealed.
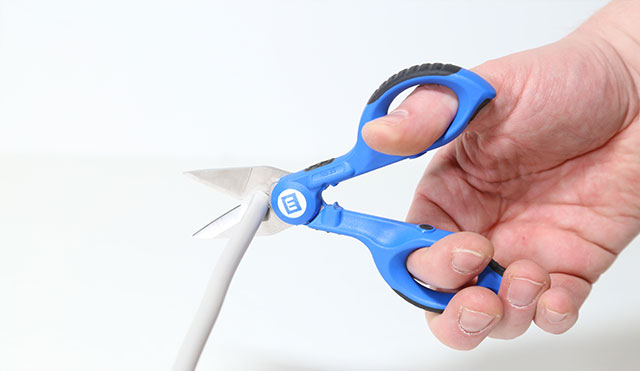
Shortening the cable To cleanly shorten the coaxial cable before stripping, it is best to use cable scissors – such as our No. 35.
Step 2: Screw on and mount the F-connector
Now clamp the F-connector into the gripper jaws of the coax stripper as shown in the photo and then screw it onto the cable. To connect to a distributor – in this example to a pre-installed antenna socket – use the open hexagon of the tool.
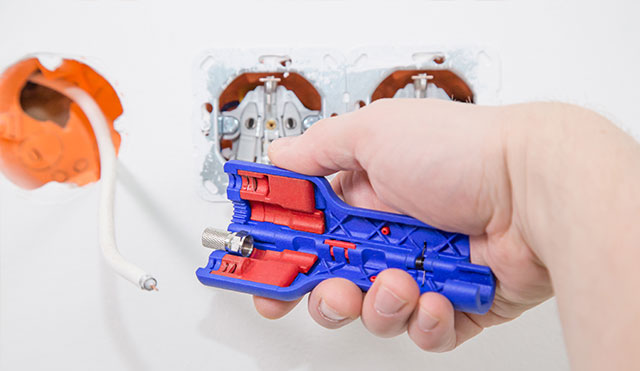

Exchangeable blade inserts Optional blade inserts for stripping to other defined measurements are available for the Coax Stripper No. 1 F Plus (e.g. F-screw connectors: 6 / 4 mm).
Example LNB module
The step-by-step instructions above show one thing very clearly: the 3-in-1 function of the tool is very convenient – also for mounting a satellite system on the roof. If you want to replace an LNB module, for example, all you need is the coax stripper and a screwdriver. Place the hexagon on the mounted cable, loosen the F-connector, replace the LNB and, if necessary, the F-connector, reassemble the components – done.
In the end, the tool really makes daily work easier – especially when you have to connect many units at once.
Looking for more information?
In our blog category „Handcraft and useful tips“, you will find even more interesting posts on our stripping tools as well as many other ideas and instructions for handicraft and DIY projects.
Written by Annabelle Kreft