Storage space in a motorhome is pretty limited. That’s why it’s a good idea to install airline rails in the motorhome to make the best possible use of the available space and to secure the stored items at the same time. True to the motto “small but mighty”, the lashing rails hold everything in place, like your camping furniture or other things that you want to stow in the sides. Did I say in the sides? That’s right! You’re probably more familiar with lashing rails fixed to the ground to secure bicycles or similar items. But you can also easily attach them to the walls of your motorhome. Thanks to our adhesives, you can even do it without screws. Here are the instructions.
Material list
What you need for your lashing rail installation:
- lashing rails or airline rails
- gloves
- pen
- WEICON Mounting Tape Transparent/Grey
- masking tape
- sandpaper
- cleaning cloth
- WEICON Surface Cleaner
- WEICON Flex 310 M Super-Tack
- cartridge knife
- WEICON Cartridge Gun Special
- possibly a helping hand
- possibly a cutter knife
- optional: rubber roller
- optional: spirit level

Bonding the airline rails into the motorhome has two advantages: You don’t have to drill into the wall, so you prevent damaging the insulation. In addition, the forces are distributed over the entire surface of the airline rail when it is glued – with drilling, the forces would only be distributed at certain points.
Installing lashing rails in a motorhome – step-by-step instructions

Step 1: Sketch out the bonding area
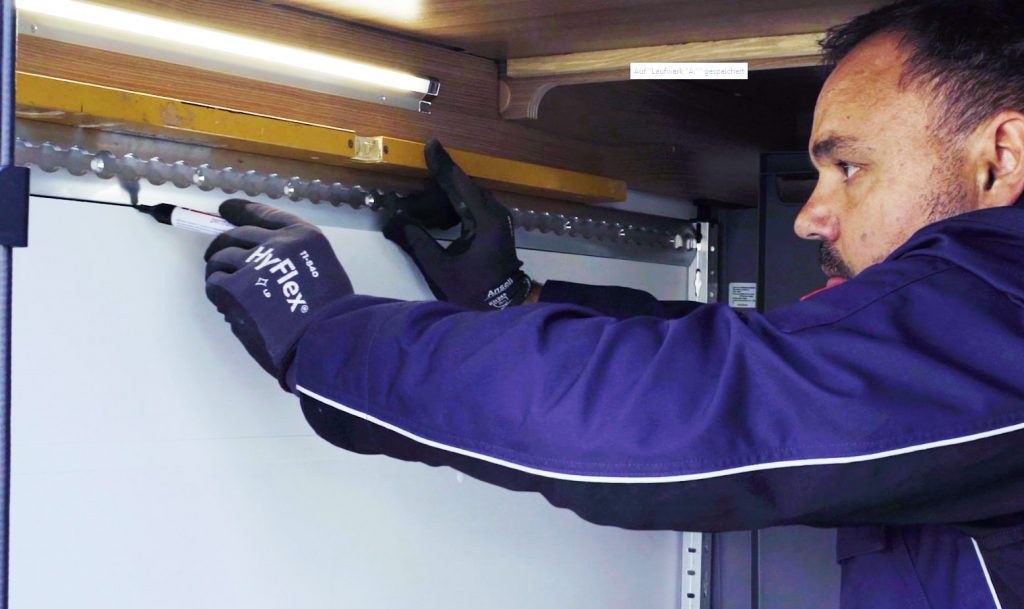
First, put on gloves first, because safety is always first! Your skin will thank you for it, especially during the gluing process. Then grab the lashing rail, hold it against the wall and trace the contour with a pencil. This way you will know exactly where to attach the lashing rail later.
Tip: Use a spirit level as a spacer. It’s even easier if you have a helping hand with the marking.
Step 2: Mask the bonding area
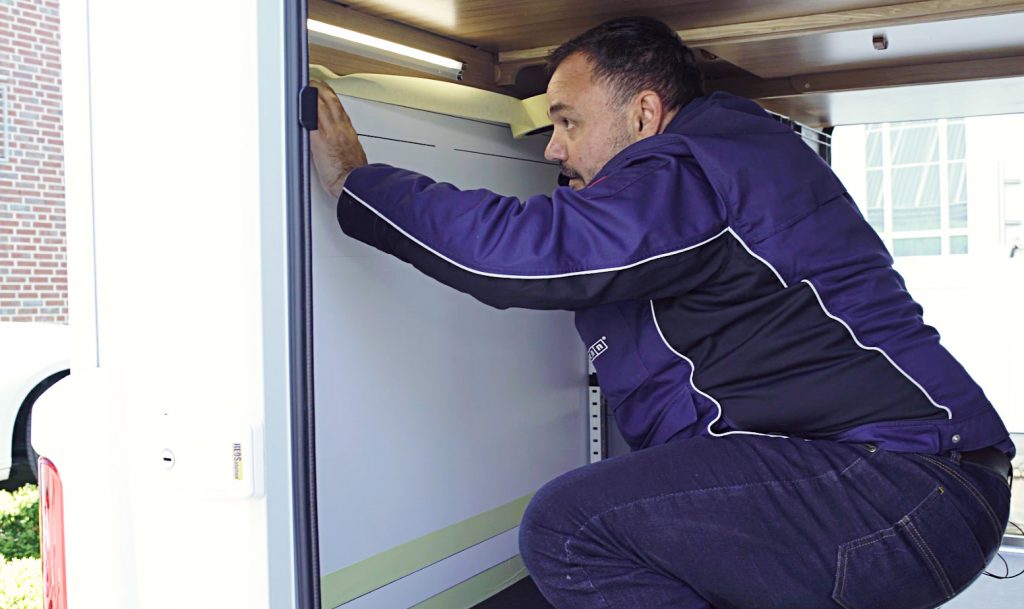
You can put the lashing rail aside for now. You can also take your gloves off briefly here for a little more fingertip feeling. Then mask the areas around the contour you have drawn as accurately as possible with your masking tape. This will help you to remove any excess adhesive later on without leaving any residue. You will also know exactly where to start sanding with the sandpaper. Which is what the next step is all about.


Step 3: Prepare the bonding surface
Before you can finally start bonding the airline rails in your motorhome, you need to lightly sand the bonding surfaces. Sandpaper with a grit size of 80 is sufficient for this. Then remove the sanding dust and remaining dirt with our Surface Cleaner and a cloth. After two to three repetitions, the surface is ready for the lashing rails to be bonded. Caution: The Surface Cleaner is a solvent. Therefore, make sure that the work area, in this case your motorhome, is well ventilated.
Sanding serves to improve the wettability as well as the mechanical interlocking. In other words: The adhesive sticks better.
Step 4: Prepare the lashing rails
You can also lightly sand the lashing rails once and then clean them to improve the adhesion later. Now take the Mounting Tape, cut a few short strips and place them at regular intervals between two holes. The tape has two functions here: It defines the adhesive gap and provides initial adhesion later on.
Tip: If necessary, you can press the tape on with a rubber roller so that it sits in the roughness of the lashing rail. If you have problems detaching the liner from the tape, you can use a cutter knife.


Step 5: Bond the airline rails
Now it‘s the adhesive’s turn. The best adhesive to use here is Flex 310 M Super-Tack. This has – as the name already suggests – a super high initial strength and provides a quick result. In addition, our Super-Tack is an elastic adhesive. This means it can withstand vibrations and shocks without any problems when you are on the road with your motorhome.
Use a cartridge knife or a box cutter to cut off a decent piece of the tip of the cartridge. Once you have placed the cartridge in the pressure gun, you can start the bonding process. Apply the adhesive generously in serpentine lines. Why? The serpentine application and subsequent joining spreads the adhesive evenly. Caution: No adhesive should get on the mounting tape, as this would impair the adhesive strength.
Step 6: Installing the lashing rail in the motorhome
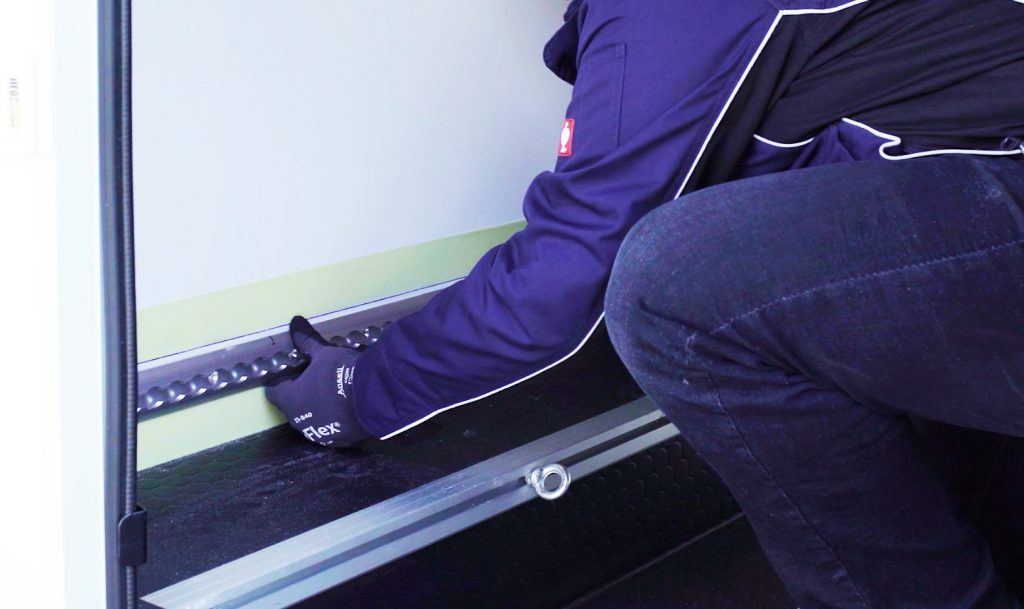
Now you can finally attach the lashing rails. As you have marked your bonding surface in advance, this should be done pretty quickly. For minor adjustments, you can move the lashing rail a little. As soon as the mounting tape touches the wall, the airline rail is firmly attached. Convenient, right?
To ensure that the Super-Tack adhesive is evenly distributed, press the rail against the wall with a little pressure. You can then peel off the masking tape and et voilà, the new storage space in your motorhome is ready to use!
That’s how easy and cost-efficient it can be: If you were able to fix your lashing rails, you now have numerous possibilities to redesign your motorhome. Without using any screws!


Attention camping fans
You would like more tips on camping? In this post, you can find out, for example, how to repair a cracked gas box. Or take a look at our checklist on “Getting your caravan ready for winter” .
Written by guest author Sophie Schickedanz – Public Relations Intern