
“The trim on the rear of my car has fallen off, I need your help! Love, mum”. This message popped up on my smartphone screen one Saturday afternoon. I could quickly calm my mum down by saying: “No problem, I’m sure we have the right adhesive at work to reattach car trims!”. And that turned out to be true. Here you’ll find out which WEICON product does the trick.
Goodbye, car trims
If you search the internet for “loose car trims”, you’ll find thousands of posts by car owners, who are at a loss. Sometimes the car trim has just suddenly fallen off without a warning, sometimes it has become loose, but is still attached. In my mum’s case, the neatly chromium-plated decorative trim had parted after a trip to the car wash, leaving the car behind with a bare rear end (no pun intended). But how can a car trim be reattached? To answer that question, I turned to our application engineer Mike. Together, we tackled the adhesive problem.

Step 1: Analyse the surface
I was eager to start bonding right away, but Mike reminded me to take a closer look at the surfaces of the car and the trim first. These are made of automotive paint and chrome, both materials, which are not easy to bond. That is why it’s important to use a primer, also called bonding agent. But one step at a time. First of all, we need the right adhesive.
Step 2: Find the right adhesive
If you want to bond car trims, not only do you need a high-strength, but also a weather-resistant and elastic adhesive. That is why my colleague Mike opted for our WEICON Flex 310 M® Super-Tack MS-Polymer. The adhesive meets all the above-mentioned requirements and is ideal for the daily rough and tumble in road traffic. Moreover, in combination with the Primer K200, the adhesive provides very good adhesive strength on the materials automotive paint and chrome.

Tip: It’s really imporant stick to the processing temperature of +5 to +35 °C. In temperatures below or above that range, the adhesive can’t build up its ideal strength. In temperatures above +35 °C, the curing time decreases siginificantly, in temperatures below +5 °C, the curing process takes much longer or doesn’t even take place at all.
Step 3: No adhesive bond without surface pre-treatment
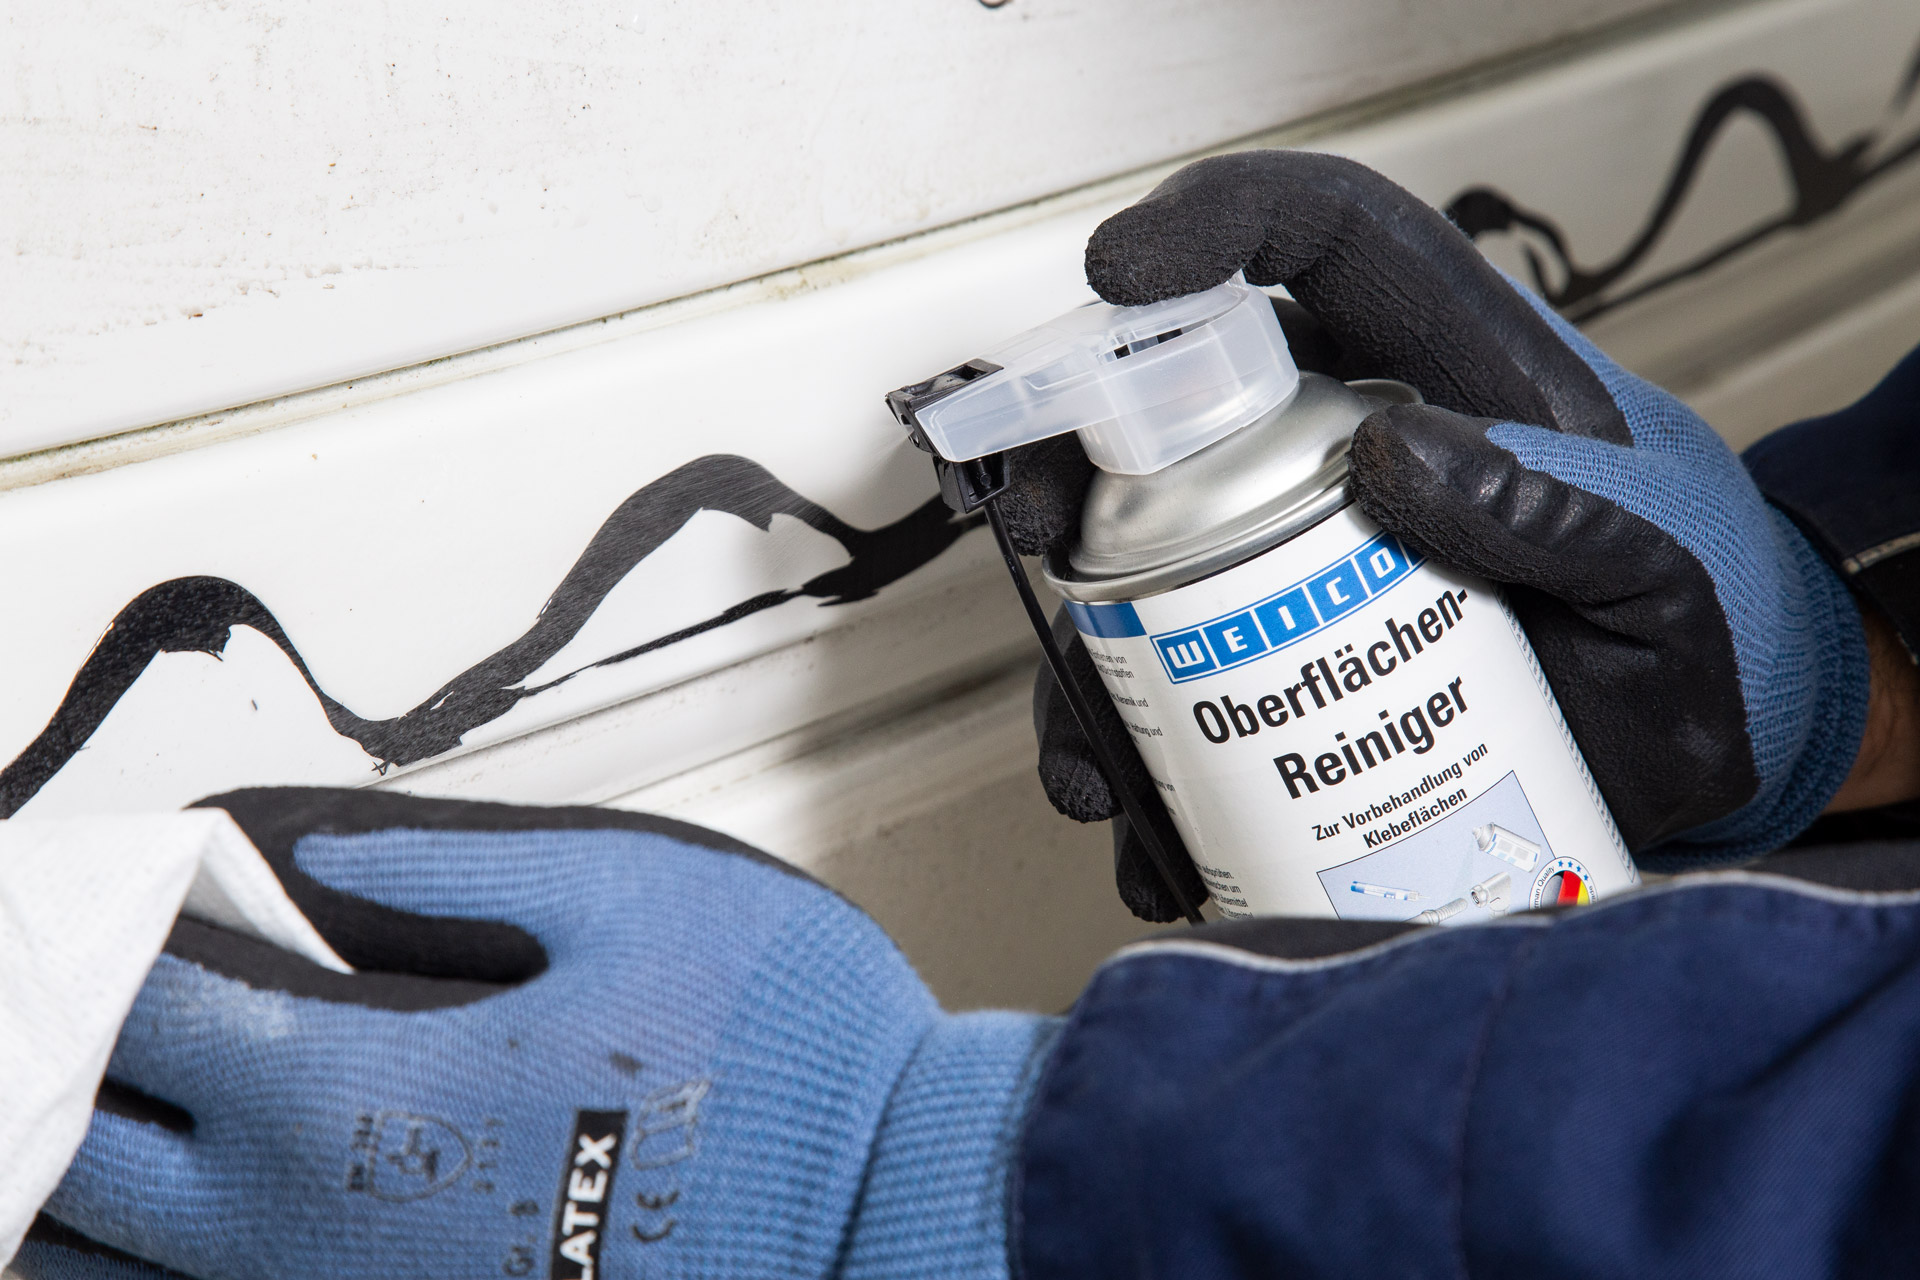
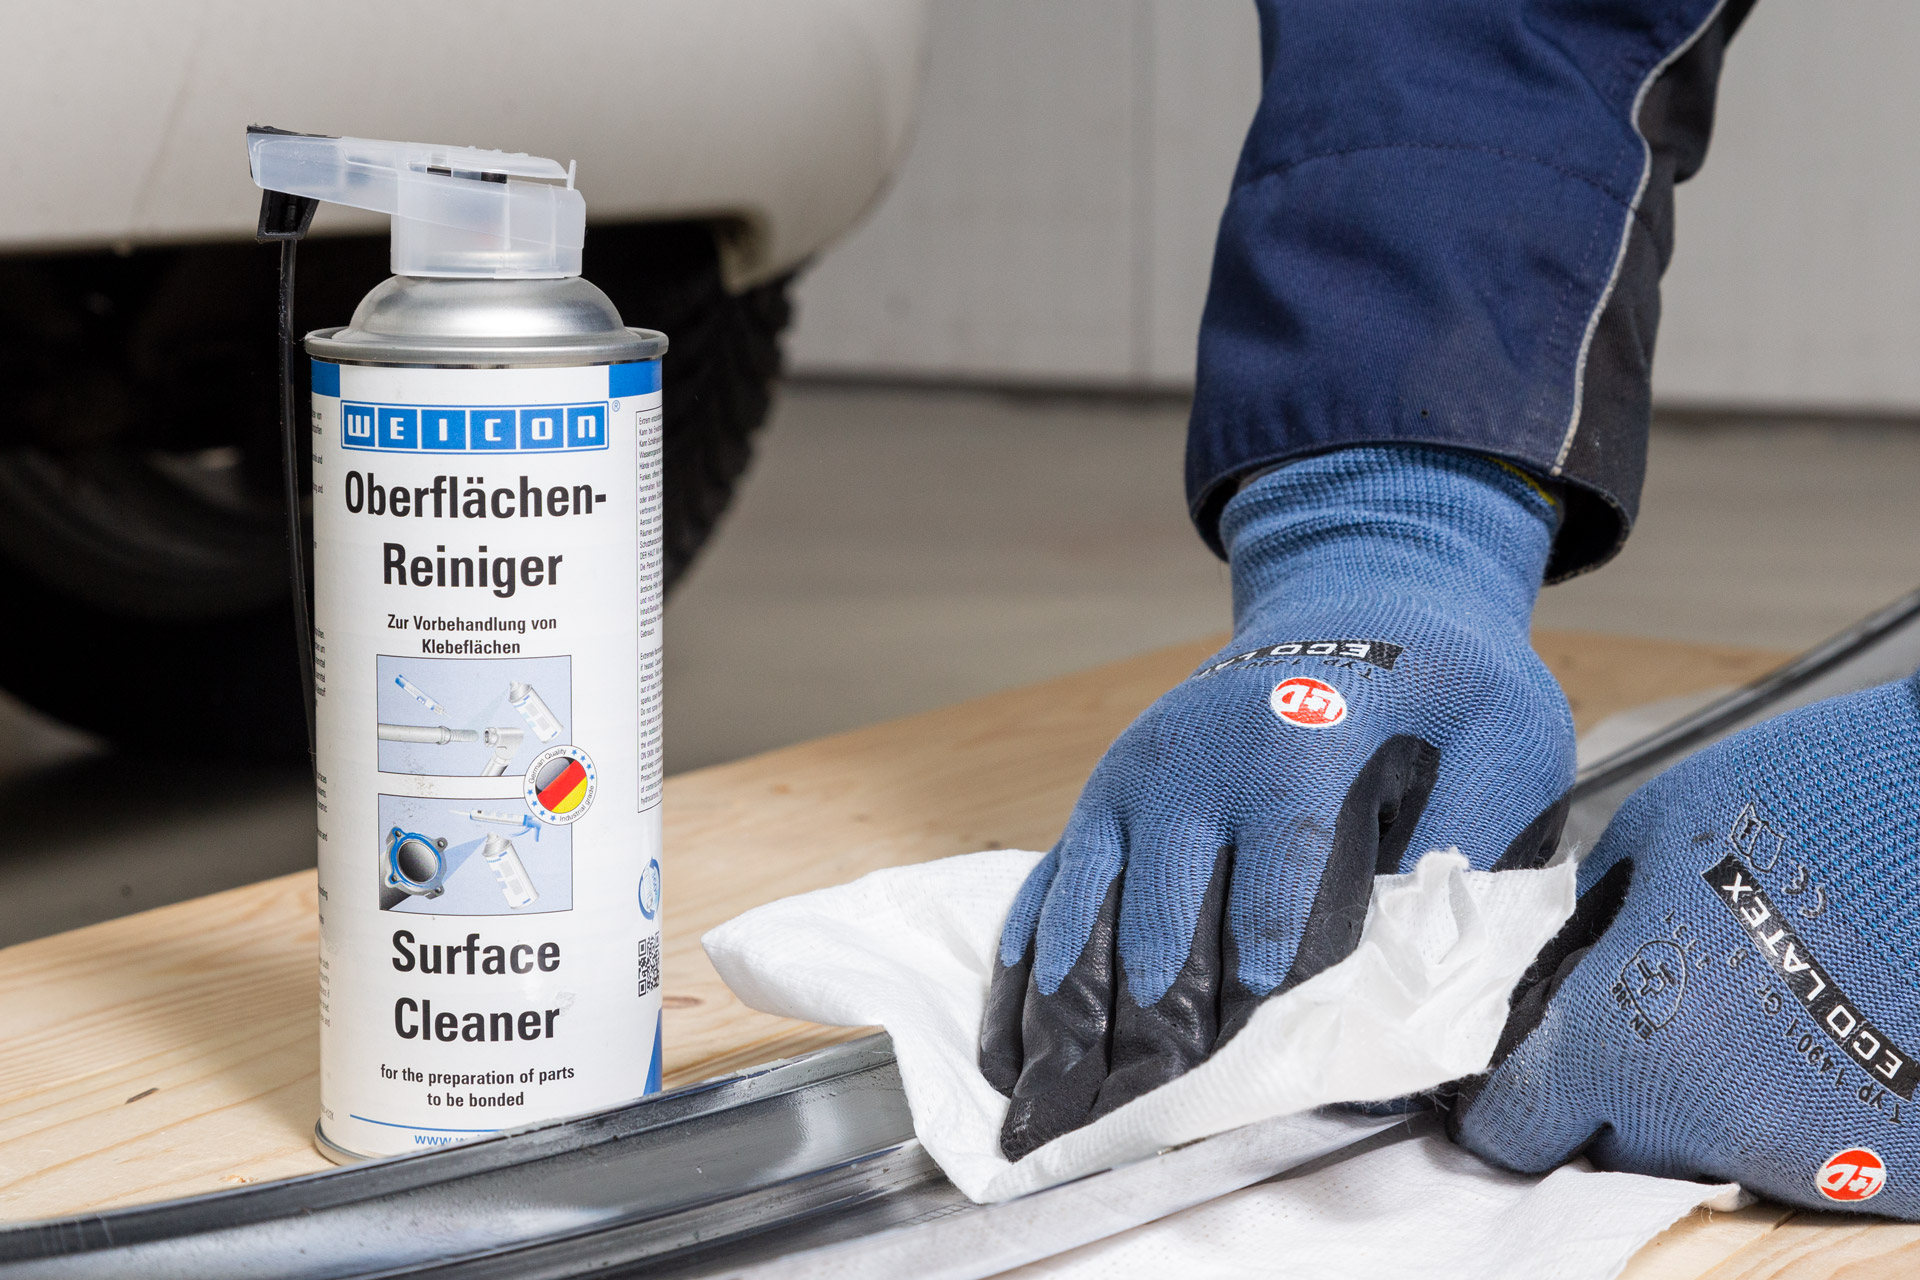
Clean the surface
As always when it comes to adhesive bonding, the first step is to clean the surface thoroughly. So Mike and I first grabbed our WEICON Surface Cleaner. We applied the cleaner to both the painted car surface to be bonded and the chrome-plated trim. Then we wiped both surfaces down with a clean cloth. This step is necessary not only for thorough cleaning, but also to remove adhesive residue.
Apply the primer
Now back to the primer: In order for the trim to stay put this time, we have applied our WEICON Primer K 200 as surface pre-treatment. It serves as a reliable bonding agent and ensures ideal adhesion to the non-absorbent surfaces paint and chrome.

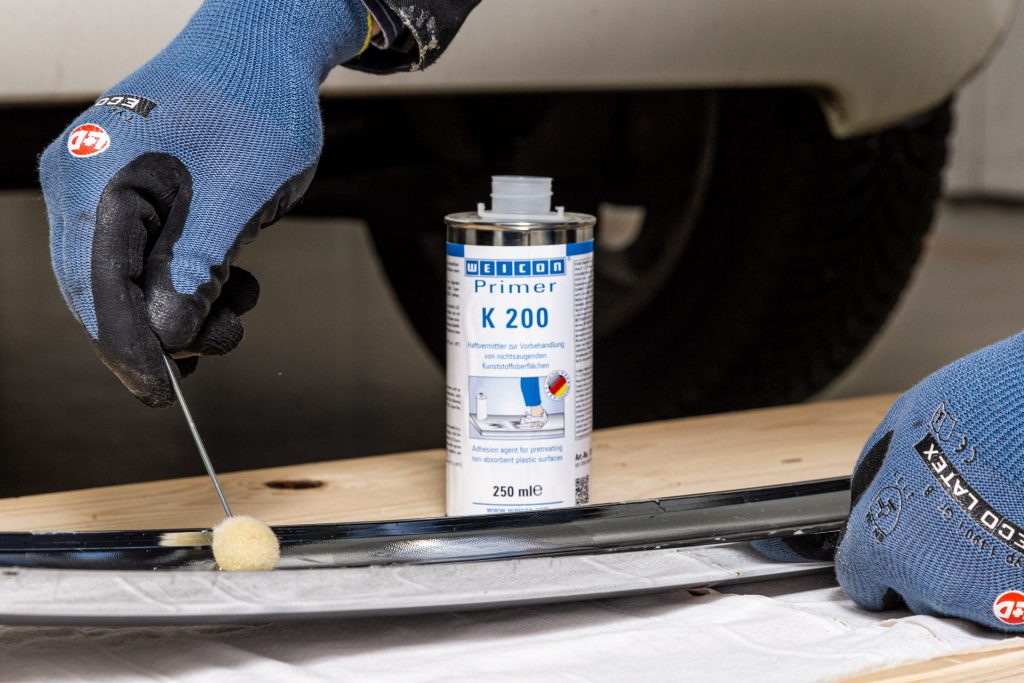
Tip: It’s best to apply our K 200 with a wool primer dauber. Shake the primer well before use and allow to flash off for at least ten minutes to make sure it can take full effect.
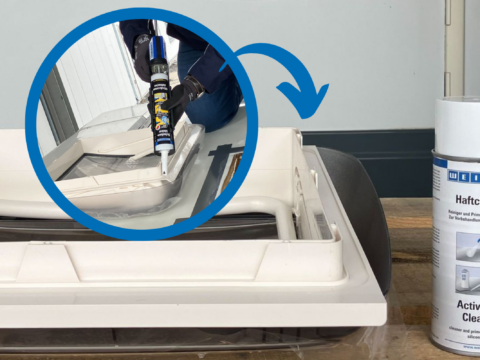
Step 4: Reattach the car trim

Mike and I applied the adhesive in S-shaped lines. That way it is spread evenly, when both parts are joined in the next step. The huge advantage of the Super-Tack adhesive: It has – as the name already tells – a high initial strength. That means the trim can be attached straight to its former position on the car witminiut additional fixation. After 24 hours, the adhesive is fully cured.

That’s how easily a loose car trim or moulding can be fixed. The result speaks for itself, doesn’t it? My mother was definitely thrilled about the fast solution and happy that she didn’t have to take her car to the shop for a costly repair.
Summary: Which materials do you need for the repair?
- WEICON Surface Cleaner
- WEICON Flex 310 M® Super-Tack MS-Polymer
- nitrile gloves
- cartridge knife/box cutter
- wool primer dauber
- WEICON Cartridge Gun Special
- clean cloths
- WEICON Primer K 200

Written by guest author Timon Steigerwald – Apprenticeship Industrial Management Assistant at WEICON

