
Slipped with an angle grinder
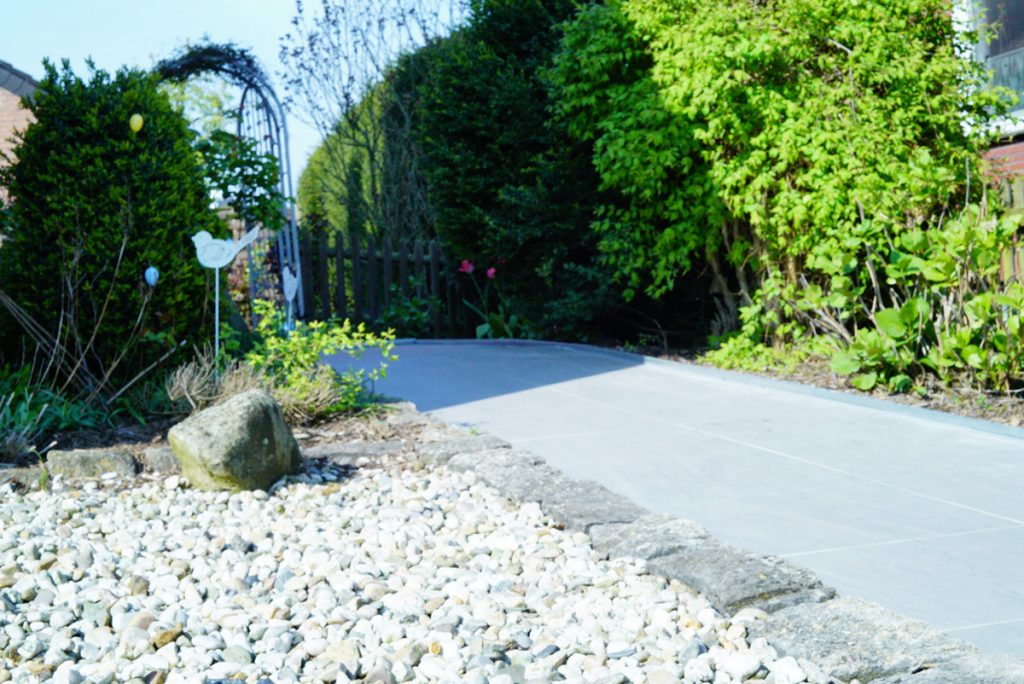
My colleague Sandra recently had a small DIY project on the agenda. The newly paved footpath from the front garden to the front door needed a lawn edging on one side. This was to prevent birds from spreading the bark mulch from the bed onto the path.
So Sandra’s husband and the neighbour got to work. They chiselled up the tiles and foundations on the side and laid the lawn edging.
Everything actually went according to plan – until a small mishap: the angle grinder slipped when cutting a tile. The result was a clearly visible cut in the surface.
Sandra took it in her stride – but immediately thought about a repair with WEICON products. She asked me if the tile could be repaired. The aim was to repair the damaged tile and at the same time seal the joint between the pavement and the lawn edge with silicone.
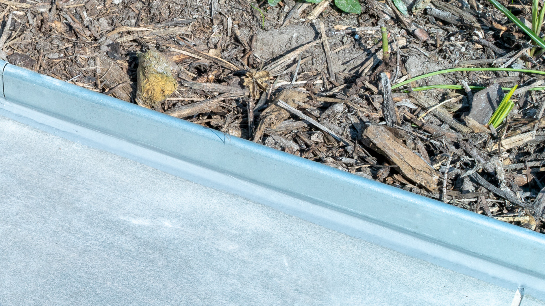
Both could be realised quickly and cleanly with the right products. The result: a stable lawn edge, a sealed joint – and a repaired tile where you have to look twice to recognise the cut.

Fixing the tile notch
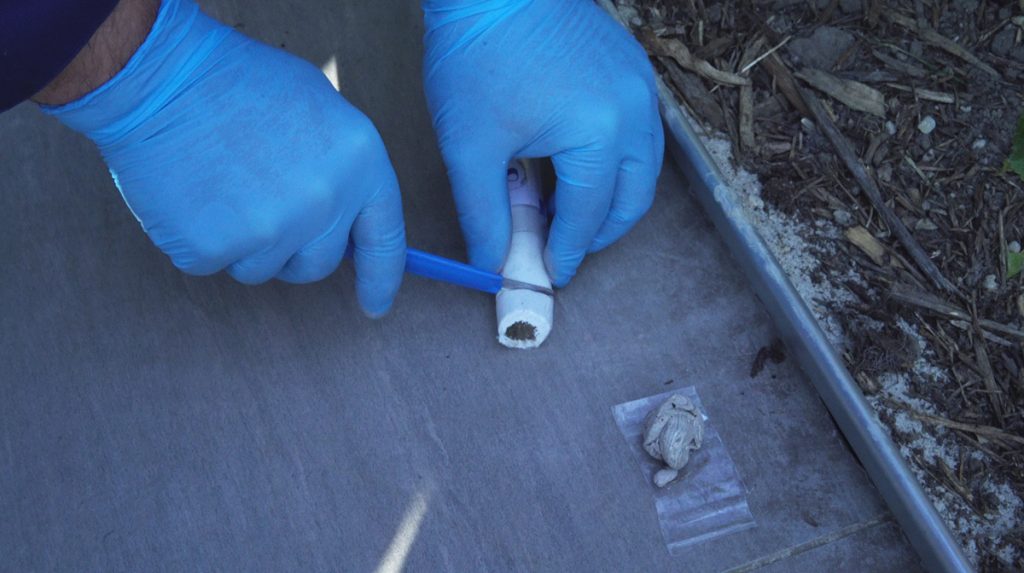
For a quick repair of the tile, we chose our Repair Stick Concrete. It reliably fills and seals damages on brickwork, stone, concrete and ceramic tiles etc. with a maximum gap of 15 millimetres. Ideally, the coulour of the Repair Stick matched the tile perfectly in this case.
Repair tile
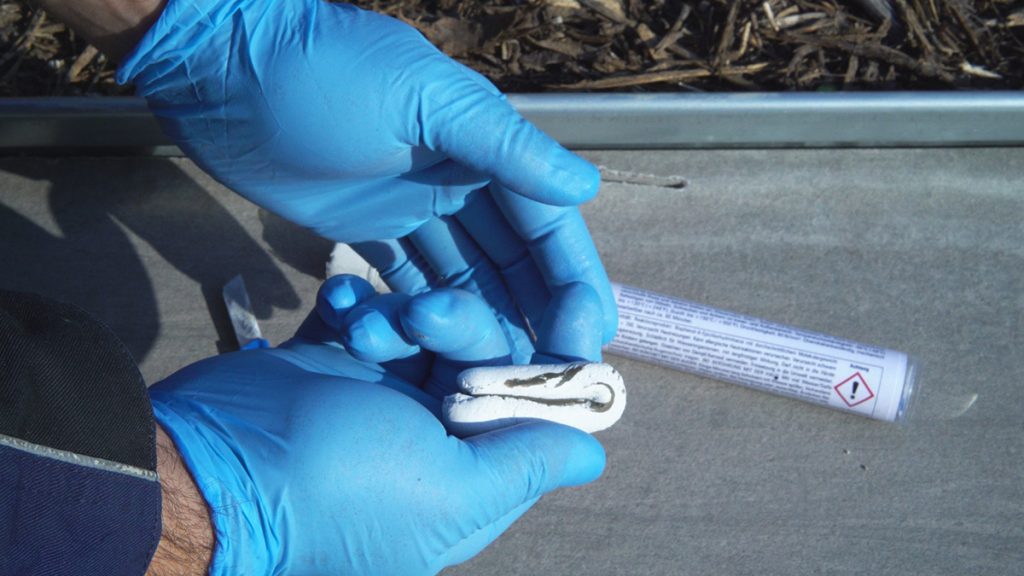
To repair the tile, I cut off a small piece of the stick and then kneaded it thoroughly with my fingers (wearing gloves, of course). The two-component adhesive needs to be worked until it forms a homogenous mixture. Note: After a few minutes, the compound is already hard to mould. That means, it needs to be processed fast! I quickly filled the notch with the adhesive and finished it using one finger. After just 60 minutes, the Repair Stick Concrete can be exposed to mechanical stresses and after 24 hours, the adhesive is fully cured.
Grouting silicone
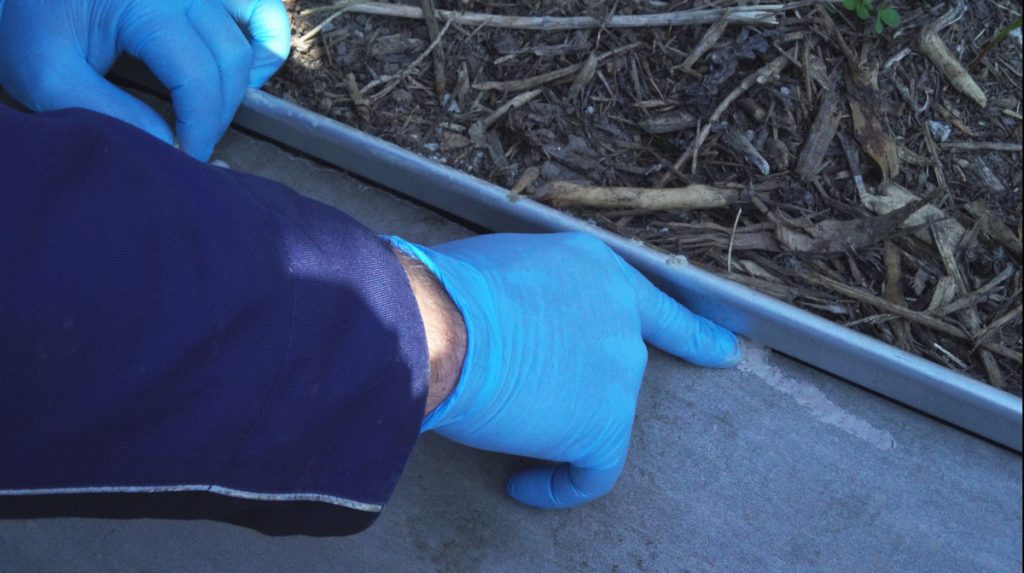
I applied the silicone line between the lawn edge and walkway using our Silicone A. This adhesive is extremely elastic, ageing- and temperature-resistant and ahderes perfectly to steel, aluminium, glass, ceramic and many other materials.
For a straight and clean silicone line, you need the following things in addition to the adhesive itself:
- cartridge gun
- spatula/gloves
- water-detergent-mixture, alternatively our WEICON Smoothing Agent
- paper towels
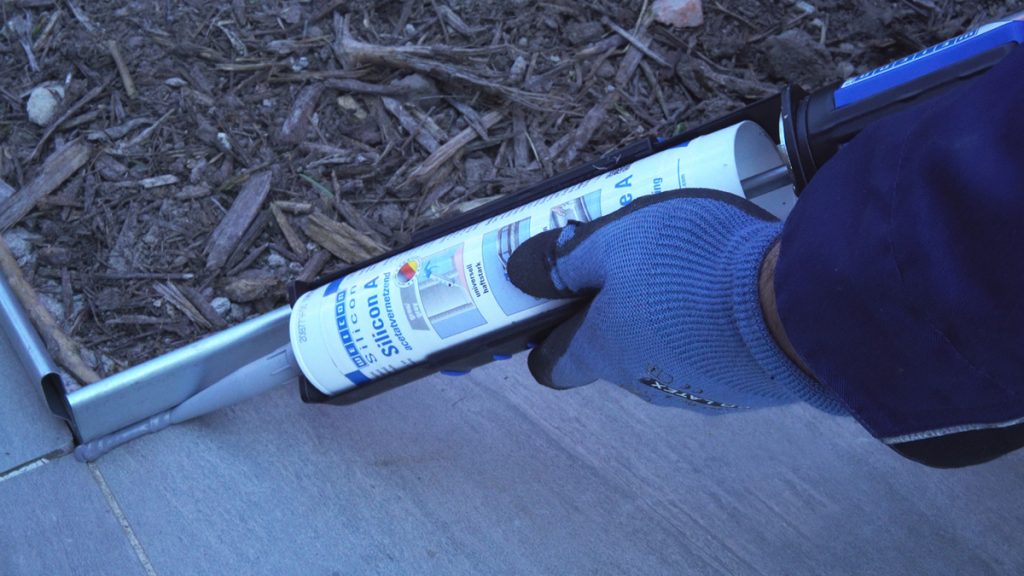
Little tip beforehand: I cut open the top piece, also called dosing tip, with an olique angle and with the opening matching the width of the gap. That way, I could use the dosing tip for better control of the cartridge gun.
First of all, I cleaned the gap from soilings, such as little stones or mulch. For that, a hand brush or any other brush comes in handy. By means of the cartridge gun, I could apply the Silicone A quickly between the metal skirting and the edge of the walkway. The important thing here is to squeeze the adhesive out of the cartridge as evenly as possible.
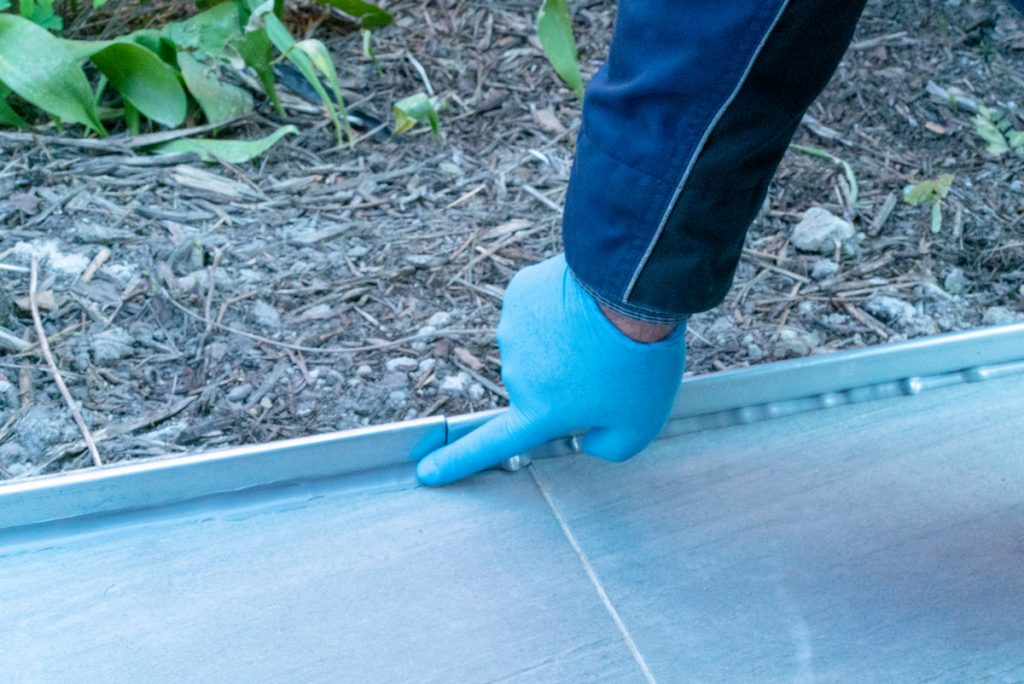
With a spatula or one finger, the silicone line can be formed and waste silicone can be removed. A little drop of the water-detergent-mixture makes smoothing the silicone line easier and prevents the silicone from sticking to your finger or spatula. Our WEICON Smoothing Agent is also ideal for this purpose. I disposed the waste silicone using a paper towel.
Now, Sandra’s garden walkway stays free from bark mulch and the notch in the tile is also perfectly hidden.
If you have other garden projects and need the right support, then take a look here.
