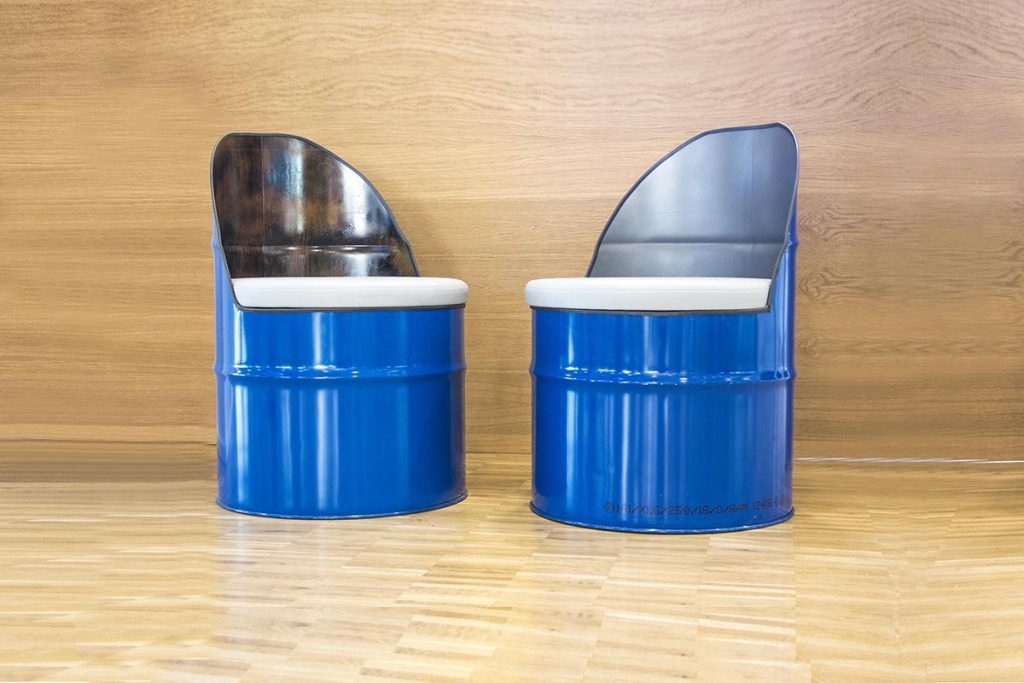
The dream of having a home workshop
Having your own little home workshop as a retreat to immerse yourself in your DIY projects and repairs – for many men, this is the ultimate dream! As long as it provides enough space for sawing, drilling and glueing things, it doesn’t even matter if it’s in the garage, in the basement or in a garden shed. I know what I’m talking about, as I’ve created such a “mancave” for myself at home.
What had been missing so far, however, was the right workshop stool for relaxed working. And what kind of do-it-yourselfer would I be, if hadn’t built it myself? So here’s my instruction for you how to build a DIY workshop stool.
A few simple steps to your DIY workshop stool
This is what you need
Drum
Für diesen DIY Werkstatt-Hocker im Industrie-Look braucht ihr zunächst einmal ein leeres und stabiles Metallfass. Die ideale Sitzhöhe bei einem Stuhl beträgt übrigens 45 Zentimeter, bei einem Barhocker ungefähr 80 Zentimeter. Habt diese Maße bei eurer Fass-Wahl im Hinterkopf!
Das Fass, das ihr hier seht, stand leer, ungenutzt und fertig lackiert bei uns im WEICON Lager herum. Ich Glückspilz! Ihr könnt es aber natürlich auch selbst lackieren – zum Beispiel mit unserem WEICON Kupfer-Spray.
Seat cushion
The seat consists of three components, which are two round wooden plates and one equally round foam cushion. I cut out the wooden plates with a jigsaw. Why two of them? Simple reason: The larger plate sits on top of the drum later on, while the smaller one keeps the cushion from moving to the side. And, well, the foam cushion makes sure that you sit comfortably, obviously.
By the way, my cushion was a leftover foam piece, which someone gave to me. You can also look around for leftover pieces. Or you use cushions from old stools, chairs, etc. that are no longer used. Or otherwise, you can always ask your local upholsterer to make you a customised foam piece – which, however, might lead to additional costs, of course.
Adhesives
To bond all components, you need the following adhesives:
- WEICON Flex 310 M®
2 K MS-Polymer - WEICON GMK 2410
Step-by-step building instructions
Bonding the wooden plates
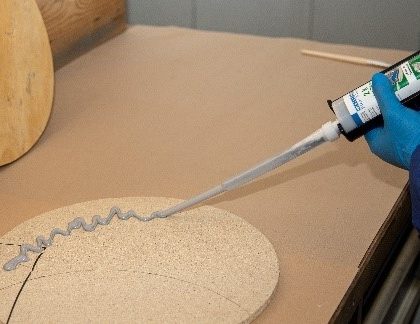
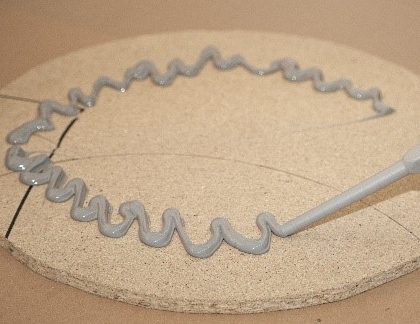
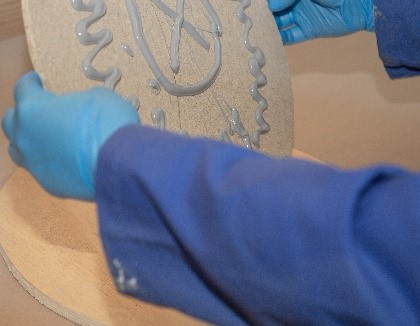
Für die Verklebung der Holzplatten habe ich WEICON Flex 310 M 2 K verwendet. Der 2-K-Klebstoff ist super haftstark und vor allem für vollflächige Verklebungen top geeignet.
Und so funktioniert’s: Setzt die Mischdüse mit großzügig gekürzter Spitze auf, ladet die Kartuschenpresse und beginnt mit dem Auftrag. Achtung: Die ersten 5-8 cm der Klebstoffraupe solltet ihr verwerfen, da das Mischverhältnis des zweikomponentigen Klebstoffs erst danach ideal ist.
Am besten ihr setzt mit der Dosierspitze schlangenförmige Linien, denn dadurch verteilt sich der Klebstoff gleichmäßig beim Fügen der beiden Holzplatten.
Der Klebstoff härtet mit einer Topfzeit von 5 Minuten sehr schnell aus, deshalb solltet ihr rasch arbeiten. Nach 60 Minuten ist die fast fertige Sitzfläche schon belastbar.
Bonding the foam cushion to the wooden plate
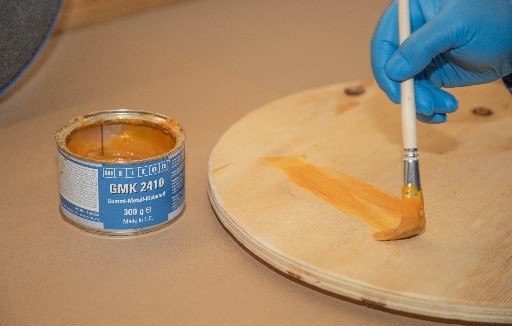
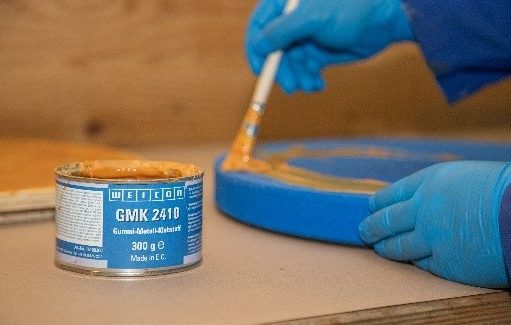
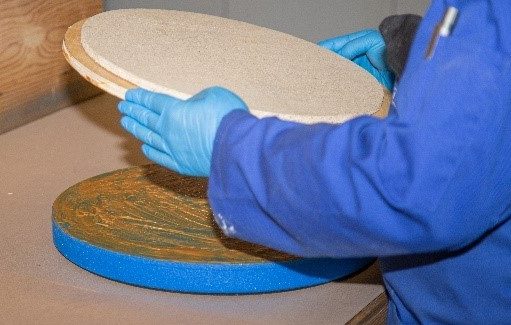
Die Holzplatte und das Schaumstoffpolster habe ich mit WEICON GMK 2410 verklebt. Das Produkt eignet sich wunderbar für die Verklebung von Polyethylen-Schaum.
Für die Verarbeitung verwendet ihr am besten einen Pinsel. Mit diesem tragt ihr den Klebstoff dünn und vollflächig auf das Schaumstoffpolster und auf die Holzplatte auf. Anschließend bitte zehn Minuten ablüften lassen. Sobald sich die Oberflächen trocken aber noch leicht klebrig anfühlen (Fingertest), müsst ihr die Teile unter kurzem, kräftigem Druck zusammenfügen.
Finally the DIY workshop stool is ready
As final step, I sanded the edge of the wooden plate and applied black duct tape all around. Of course, you can also paint the wood to start with – which is probably more durable.
After 24 hours, the DIY workshop stool is ready to use and you can start pottering about while enjoying perfect sitting comfort!
And what’s really convenient: Thanks to the detachable seat, the stool provides loads of storage space for crafting waste or other stuff!
Even more DIY: Steel drum chairs in industrial design
In another blog post, we have shown you how to make stylish chairs in industrial design out of simple steel drums!
