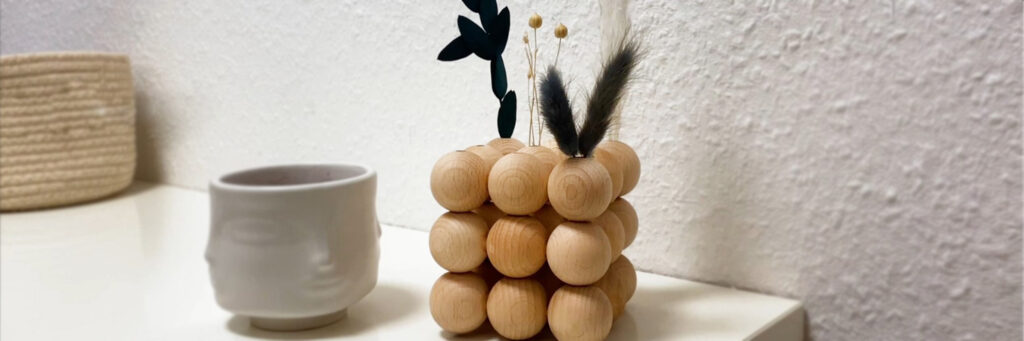
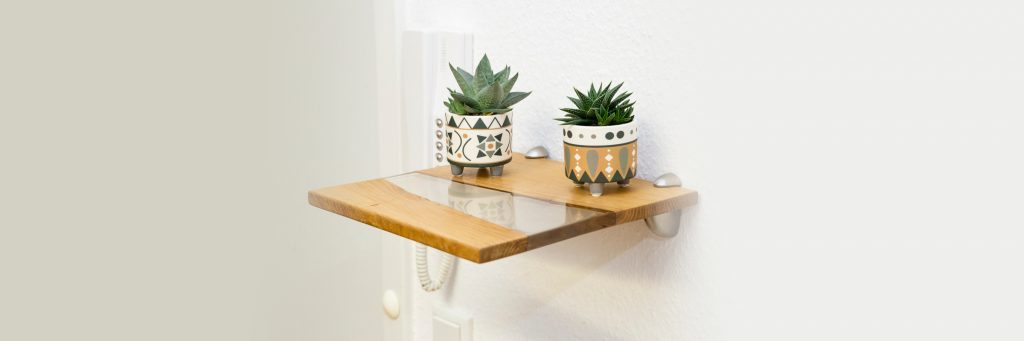
A real eye-catcher in scandinavian style
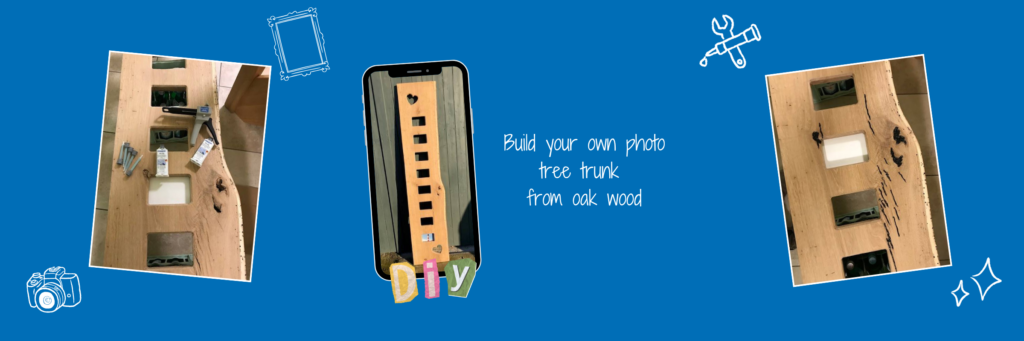
Attention, DIY fans! Are you looking for a creative way to spice up your living space? Then this post is just the right thing for you. Today we’ll show you how to make a stylish DIY bubble vase for dried flowers. Let’s get started right away!
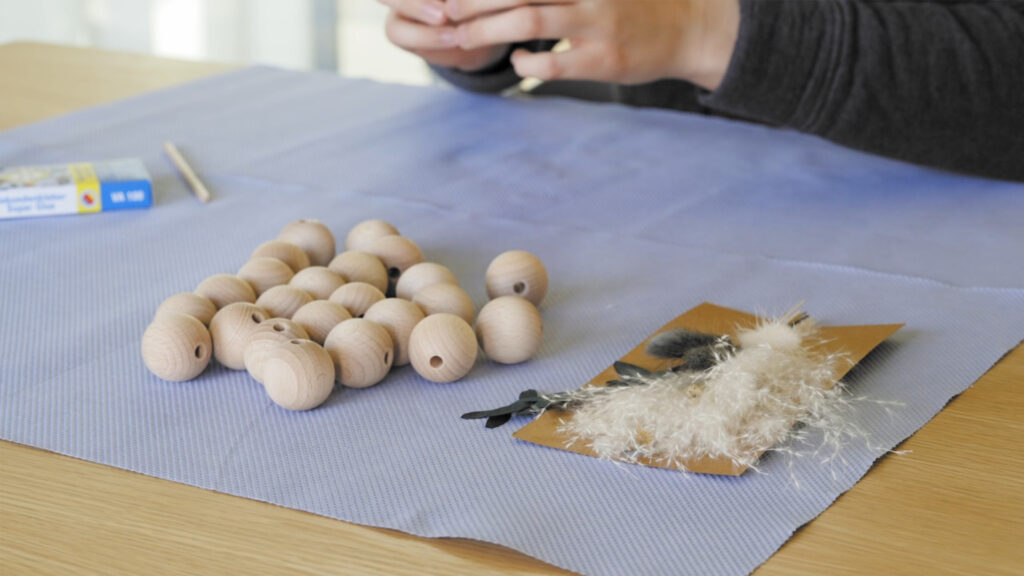
This is what you need
VA 100 Cyanoacrylate Adhesive
wooden balls of the same size with a hole in it
dried flowers
oiled wooden stick
- gloves
For the modern Scandi-style DIY bubble vase, the first thing you need are the ‘bubbles’ – or rather, wooden balls of the same size with holes in which you can later place the dried flowers. How many you need depends on the diameter of the bubbles and the desired size of the vase. You will also need an adhesive to bond the wooden balls. We recommend our VA 100 Cyanoacrylate Adhesive for this. The superglue is ideal for “do-it-yourself projects”. It has a medium viscosity and is therefore neither too thick nor too thin for our project. It also dries quickly and adheres reliably.
DIY instructions: How to turn the wood balls into a bubble vase
Grab your gloves and off you go! A tip in advance: To ensure that the wood balls are lined up accurately later, use an oiled wooden stick on which you can put the wooden balls. Why should the stick be oiled? The simple answer: in case some adhesive accidentally lands on the stick, it won’t adhere to it. Clever, isn’t it?
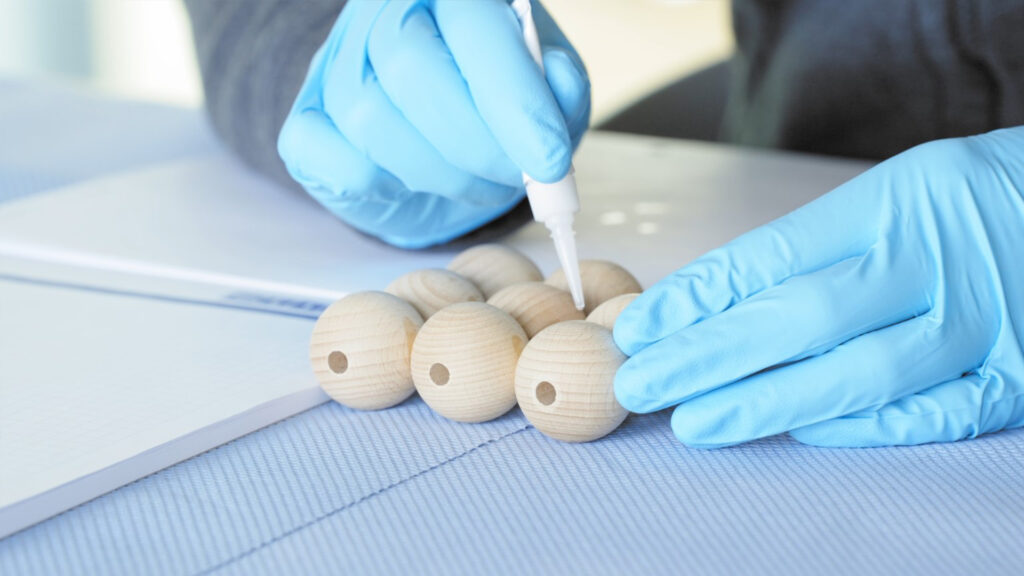
1. Connect the balls
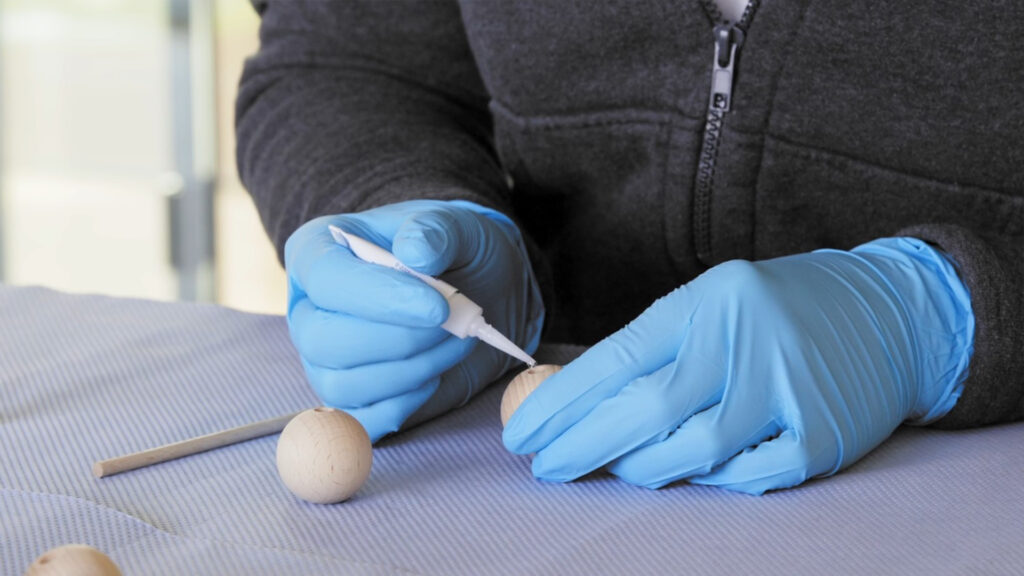
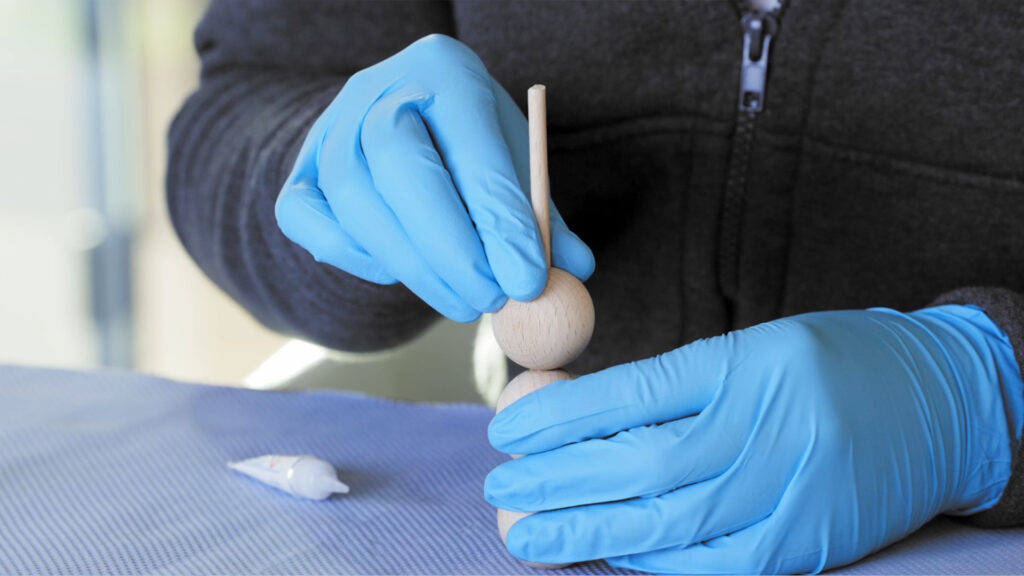
So: Now apply a little bit of the adhesive on the top side you have previously determined around the hole of the first wooden ball. Then put it onto the wooden stick before threading the next ball onto the top. Press them together and as you can see, the first two ‘bubbles’ are bond to each other. Remove the stick, apply glue on the top of the upper ball, insert the wooden stick again (preferably always from below so that it doesn’t get into contact with the VA 100) and place the next wood ball above. Continue in this way until your ‘rows of wood balls’ are finished. For our DIY bubble vase, we always put three balls on top of each other.
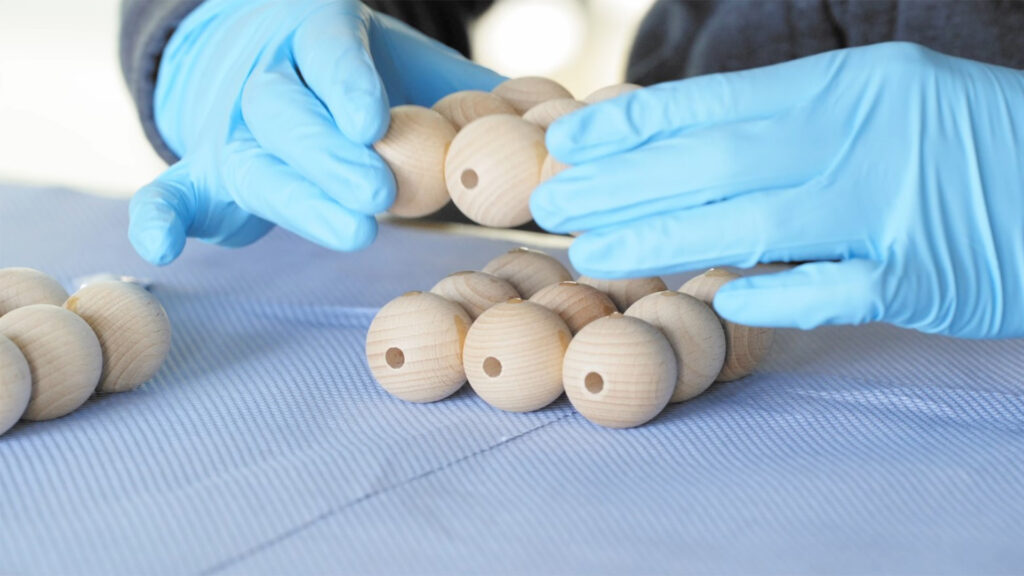
2. Connect the rows
Next step, you’ll bond the individual rows together so that you end up with the cube shape of the homemade vase. You can use a kind of boundary to help you do this, which will ensure that your rows of wood balls are connected flushly at the end. In our example, we used two writing pads, formed into a right angle.
Place two rows of your connected wood balls neatly next to each other and drizzle some of the VA 100 between them. This step shows the great advantage of the medium-viscosity adhesive: if it were too thin, it would simply seep into the wood and through the bonding gap. And if it were too viscous, it would not set in the bonding gap at all.
3. Connect the squares
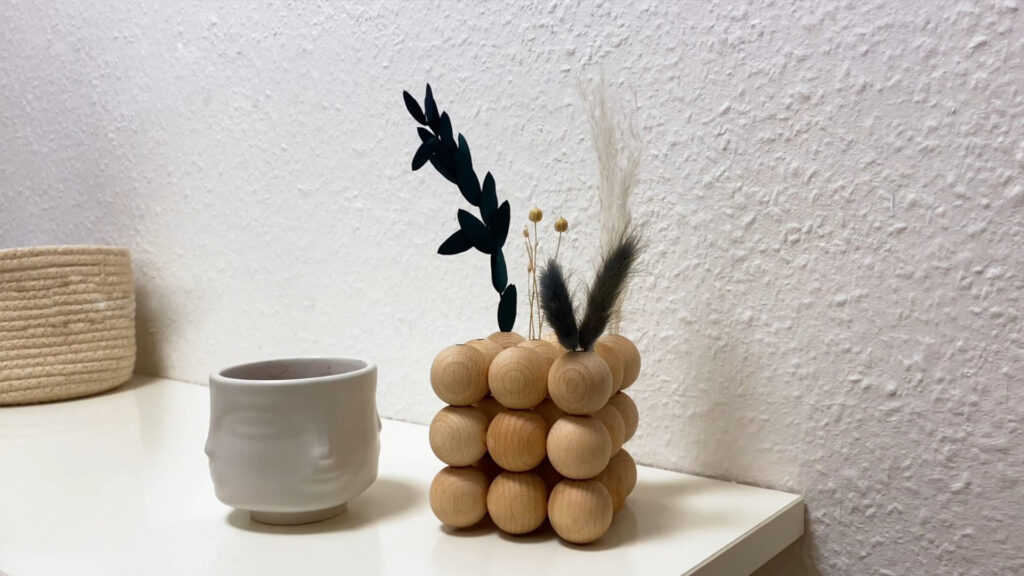
Done? Then all you have to do is stack your spherical rectangles. To do this, apply a little bit of the adhesive on the centre of each wood ball and, with a little finesse, place one layer on top of the other. Press down a little and your modern DIY bubble vase for dried flowers is ready! After about 24 hours, the adhesive has hardened and is ready for dried flowers of your choice. Have fun making your own!
Dry flowers upside down
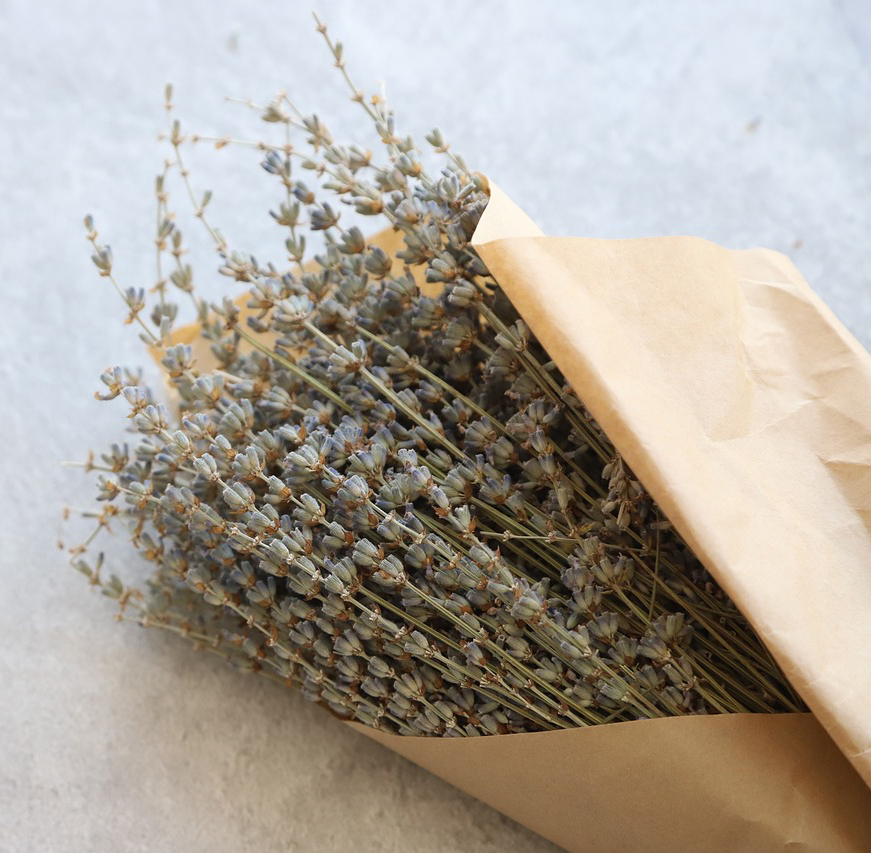
If you not only want to make the bubble vase yourself, but also want to dry flowers for it, you can do this using the ‘upside down method’:
- Select flowers: Choose fresh flowers that have not yet faded. Varieties such as lavender, roses or statice are ideal.
- Preparation: Remove excess leaves and cut the stems to the desired length.
- Bundle: Tie the flowers together in small bunches. Use string or rubber bands to hold them in place.
- Hanging: Hang the bouquets upside down in a dark, dry place with good air circulation. A wardrobe or a dry cellar are suitable.
- Wait: Leave the flowers to dry for about 2-3 weeks. Check from time to time whether they have reached the desired dryness.
- Storage: When the flowers are completely dry, you can place them in your bubble vase or store them in an airtight container.
Written by Annabelle Kreft