You probably own multiple important keys – otherwise, you most likely wouldn’t have purchased a safe to store them. Now you would like to install your key safe, but you have no idea how to? Then this blog post is just right for you! We’ll explain to you how to attach your key safe securely to a suitable wall – in a few simple steps.
Check the mounting surface
The key safe itself is already a good place to hide your keys, which shouldn’t fall into the wrong hands. For double security, however, the safe should be securely mounted to a wall. This prevents the risk of the safe being stolen and then opened someplace else.
First, it is important to check the mounting surface thoroughly, before starting the installation. Do, for example, any important supply lines, like water or electrical lines, (in)visibly run through the wall? Then – at least if you want to screw on your safe later on – you need to find another place to do so. However, there are other ways to mount the safe, which are not impacted by this. We’ll get to that in a bit.
In any case: Keep in mind that you should install your key safe in a place that is out of sight – after all, you don’t want it to catch the attention of burglars. Ideal places are nooks or corners that aren’t visible right away.

Install the key safe
After you have picked the right wall to install the key safe of your choice, it is now time to attach it. When it comes to this, we can already tell you: There is not just one right way to mount a key safe. That’s exactly why we’ll present three different mounting options in the following. Pick the one that is your favourite or that is suited best for the wall you have chosen.

Installation with a drill
If you have bought a house or an appartment, it’s entirely up to you what you do to the walls. So you don’t have to worry about whether you’re allowed to drill a hole for the key safe in the place of your choice or not. Of course you’re allowed to – provided that the material of the wall is up for it.
First, mark – with a pencil or pen – the required drill holes on the wall where you want to mount the safe. How many holes you need always depends on the size of your key safe. Larger safes obviously need more holes in order to use more dowels to securely attach them to the wall. Then, you drill the holes with the drilling machine you have already prepared.
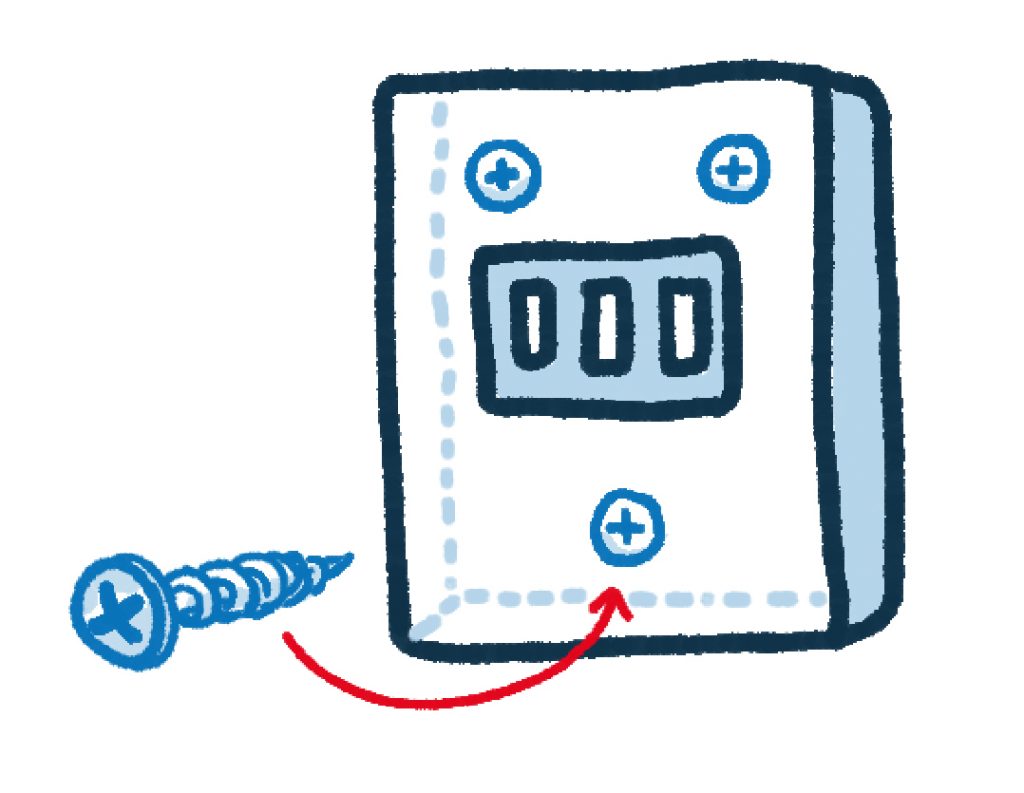
Insert one dowel in each drill hole, place the key safe on the wall and fasten the screws with the help of the cordless screwdriver. Now your key safe is securely attached and safe against stealing.
For the installation with screws, you’ll need the following materials
- pencil/pen
- screws and dowels
- drilling machine
- cordless screwdriver

Installation with adhesive
We get that drilling holes is not always possible. Especially when you live in a rented appartment, structural modifications are often difficult. They can only be carried out after consultation with the landlord. And sometimes, the wall spot you have chosen is simply not suitable for drlling holes – either due to supply lines running through the wall or due to certain materials.
But even then, you can still mount your key safe to the wall. It doesn’t always have to be the ‘classic‘ way of mounting with dowels, screws and a drill. The key safe can also be mounted with our WEICON Speed-Flex® MS-Polymer, which is a special adhesive with extremely high initial strength, just as well.
This power adhesive replaces common mechanical fasteners, like screws, dowels, rivets etc. Thanks to its high initial strength, it enables adhesive bonding even on vertical surfaces in inside and outside areas.
First, you need to check whether the bonding surfaces are clean and free of grease. To remove grease, dust and dirt from the key safe, our WEICON Surface Cleaner is ideal. For plastered or wallpapered walls, you can use a cloth that’s a little moist to wipe off any dirt.
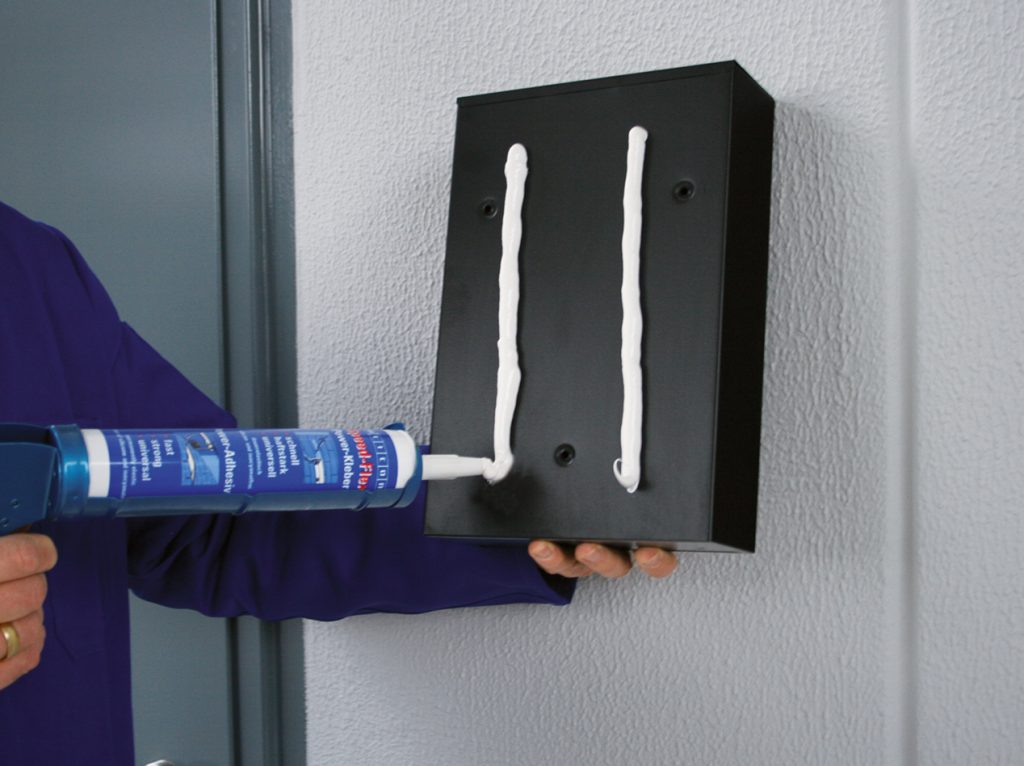
During the adhesive bonding process, make sure to apply our Speed-Flex evenly. For, the application, you definitely need a caulking gun. For a rectangular key safe, it’s best to apply the adhesive in vertical lines, for a smaller and round key safe, you can apply it in dots.
Then attach the key safe to the wall by applying gentle pressure and keep it in place for a few minutes. Thanks to the high initial strength of the adhesive, the safe is ready to use in no time.
We can assure you that a key safe that is bonded to the wall does not come off any easier than one that’s been attached with screws. So this mounting option is in no way inferior to using screws! On the contrary. Adhesive bonding offers two additional advantages compared to drilling holes that can’t be deniedt: You prooduce neither noise nor dirt during the installation of the key safe!


Installation with a flush-mounted construction
A key safe can also be installed in a flush-mounted construction, if it is a round or oval tube safe, for example. For this, a cylindric piece of concrete is removed from the wall first, for example with a matching core drill. Then the safe is either fixated with composite mortar or with an adhesive. This mounting option is also very reliable and you can be sure that your safe is securely attached to the wall.
How to install a key safe – easily done!
If you have purchased a key safe, installing it should not stand in the way of storing your keys safely. Safety storage boxes of any kind can be easily mounted to a wall. That way, you make sure that your safe doesn’t fall into the hands of burglars and is suddenly untraceable.
Just choose the mounting option presented here that suits you best – depending on what works best for your key safe and your wall. We’re sure our explanation will help you to securely attach your key safe where you want it to be.
Written by Annabelle Kreft