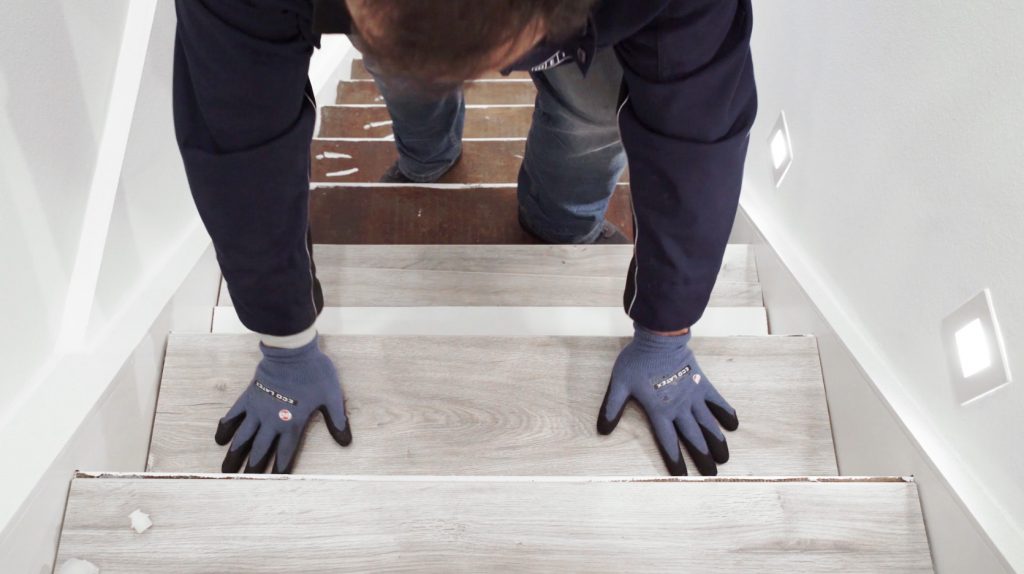
Renovating old stairs
If the staircase is past its prime and the stairs are worn out, a staircase renovation makes sense. Sounds expensive? It doesn’t have to be. The cost-efficient solution for a new, fresh look: lining the old staircase with laminate! With the right adhesive and this instruction, I will show the DIY enthusiasts among you how it’s down.
What you need
- laminate
- folding rule/angle template tool
- pencil
- table saw
- WEICON Flex 310 M 2 K MS-Polymer
- angle trims
- WEICON Silicone A
Staircase built in 1933
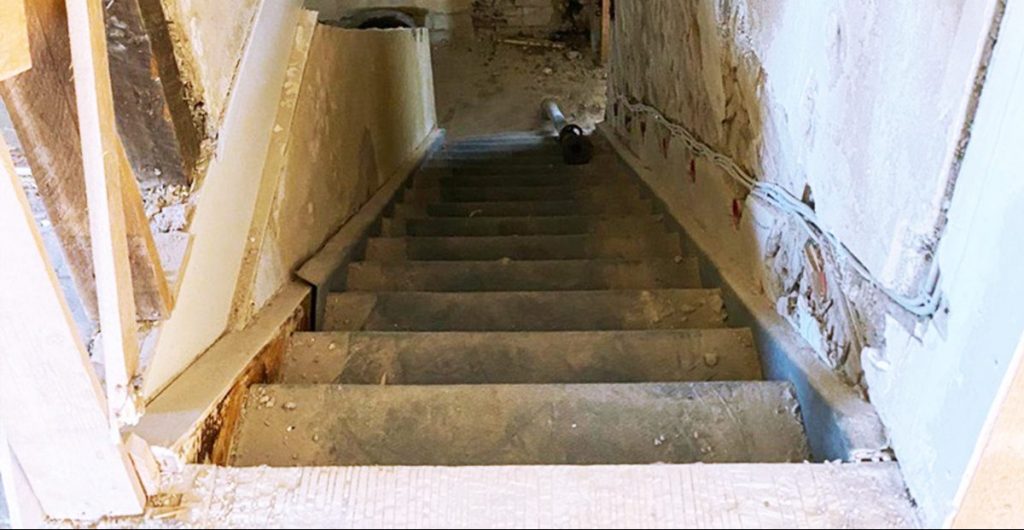
My brother and his little family have fulfilled their dream of owning a home. But at first, it didn’t really look like a dream come true. More like a diamond in the rough. The house, which was built in 1933, was in desperate need of renovation. With a lot of passion, sweat and effort, my brother has completely restored the entire building.
Renovating the staircase was just one of many projects that had to be done. The stairs were lined with a dark, very old carpet. The goal was to replace it with modern laminate.
Lining an old staircase with laminate – but first …
The right laminate
When choosing the right laminate, the basic principle should be “whatever pleases your eye is allowed”. Which means you can use any kind of laminate to line an old staircase. Alternatively, you can resort to vinyl. Both floorings have pros and cons. Laminate is cheaper, yet more sensitive when it comes to moisture. With vinyl, it’s the other way round: It’s usually a little more expensive, yet more resistant to moisture and dirt. So you have the choice.
My brother ultimately went for laminate, as it offers another advantage: due to its material thickness, it is easier to install on surfaces that aren’t completely level.
Expert tip
Get rid of the old staircase! Prepare the surfaces
Step number 1 entails the preparation of the stairs for the adhesive bonding. For my brother that meant: ripping out the old carpet! Et voilà – just a little while later, old wooden stairs appeared with a lot of potential for a new look. My brother removed old adhesive residues on the wood by sanding them off. A little vacuuming later – and the stairs were ready for the adhesive bonding.
Measuring and cutting the panels to size
Before you can line the old stairs with laminate, you need to measure the panels and cut them to size individually. My brother was lucky to have an old staircase that runs straight. In that case, exact measuring by means of a folding rule is usually suffcient. If you’re looking at your spiral staircase full of doubt right now, do not despair. In that case it’s best to use an angle template tool.
Three important tips
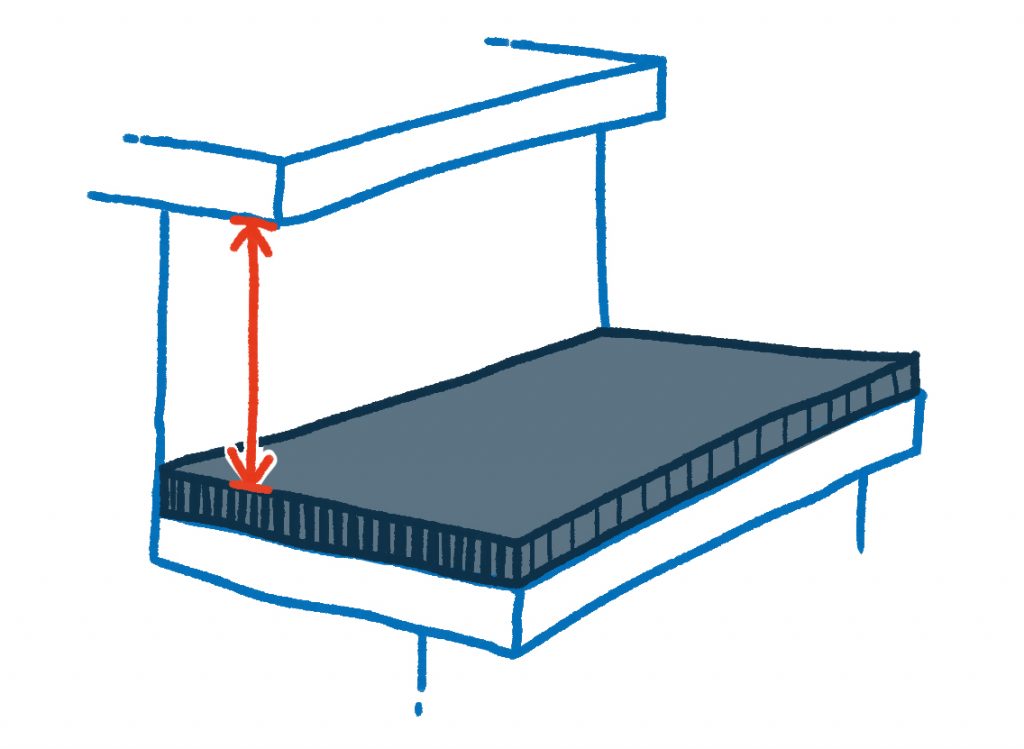
When measuring the riser, keep in mind to deduct the thickness of the step from the height.
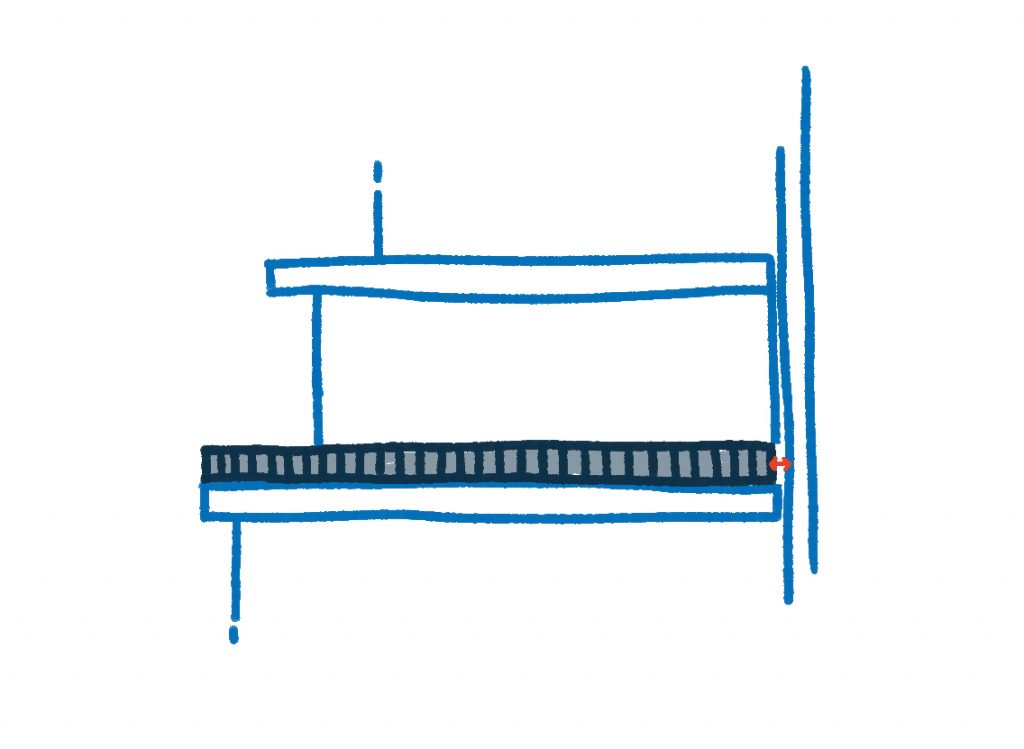
Allow for a one millimetre gap on the sides. That way, you prevent the panels from rubbing against the side walls later, which causes the stairs to creak.

Even for steps that have seemingly the same size, always take the exact measurements! Especially with old staircases, like this one, the steps often slightly differ in their sizes, when you take a closer look.
You can cut the panels with the help of a table saw.
Get started with lining the old staircase with laminate – bonding the panels
The right adhesive
Cleaned, measured, sawn. Time to get started! In order to line the stairs with the laminate, you not only need a high-strength, but also elastic adhesive. Elastic for the simple reason that you don’t want your stairs to creak every time someone steps on them.
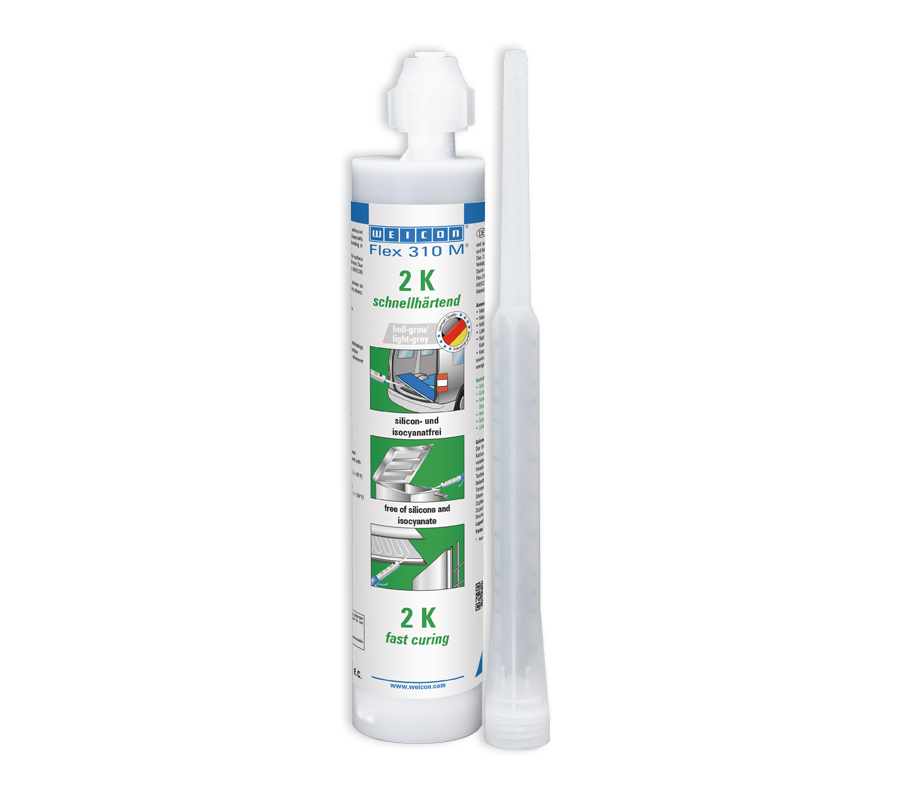
And how much of a WEICON employee would I be, if I hadn’t immediately recommended one of our adhesives to my brother? Our WEICON Flex 310 M 2 K MS-Polymer is the perfect choice to bond the panels. Not only since the adhesive is strong and elastic, but also since it’s suitable for full-surface bonding. That is because the 2-component system cures completely from the inside outwards even when used on larger surfaces.
Staircase lining – step by step
If now you finally want to line the old stairs with laminate, this is how you do it:
- Start with the top step and work your way down.
- Put the mixing nozzle on the cartridge of the Flex 310 M 2 K and insert it into a common cartridge gun.
- Dismiss the first 5-8 centrimetres of the dispensed bead, then apply the adhesive evenly (preferably in an S-shape) to the panels.
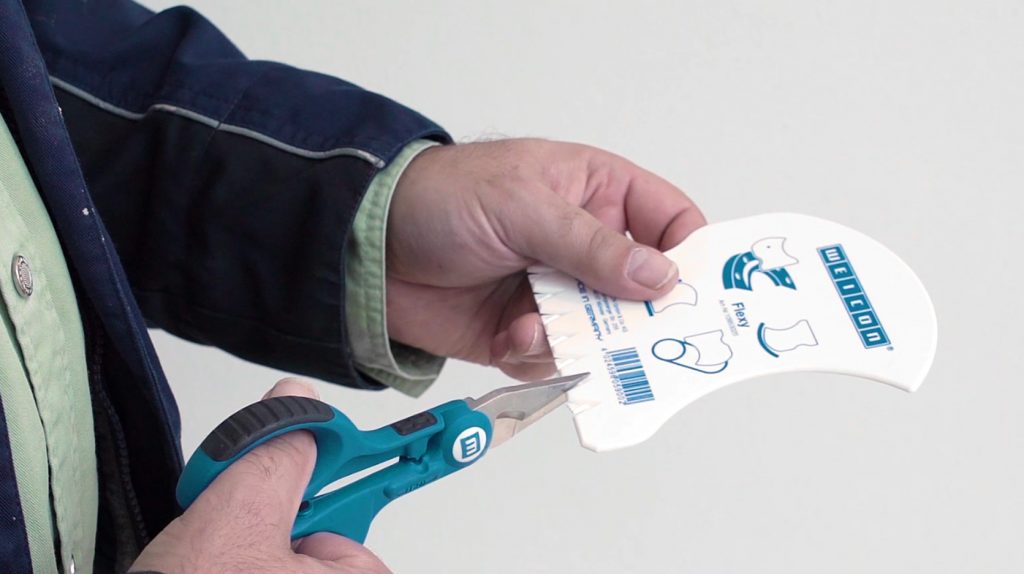
- With the WEICON Contour Spatula Flexy, you can spread the adhesive even more evenly across the entire surface (cut off the perforated “teeth“ of the front edge first)
- Always attach the step first, then the riser.
- After just 60 minutes, the stairs can be stepped on.
Expert tip
The finishing touches
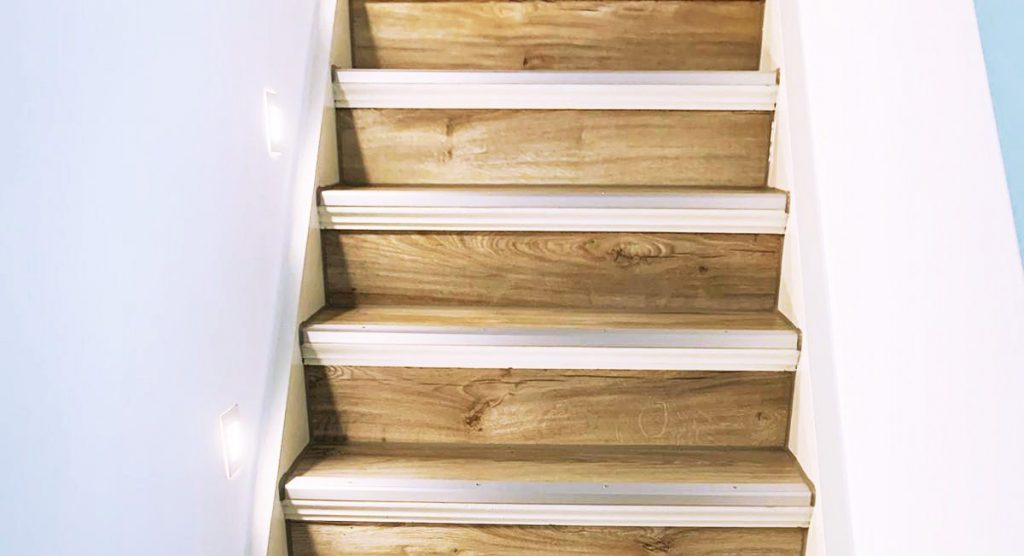
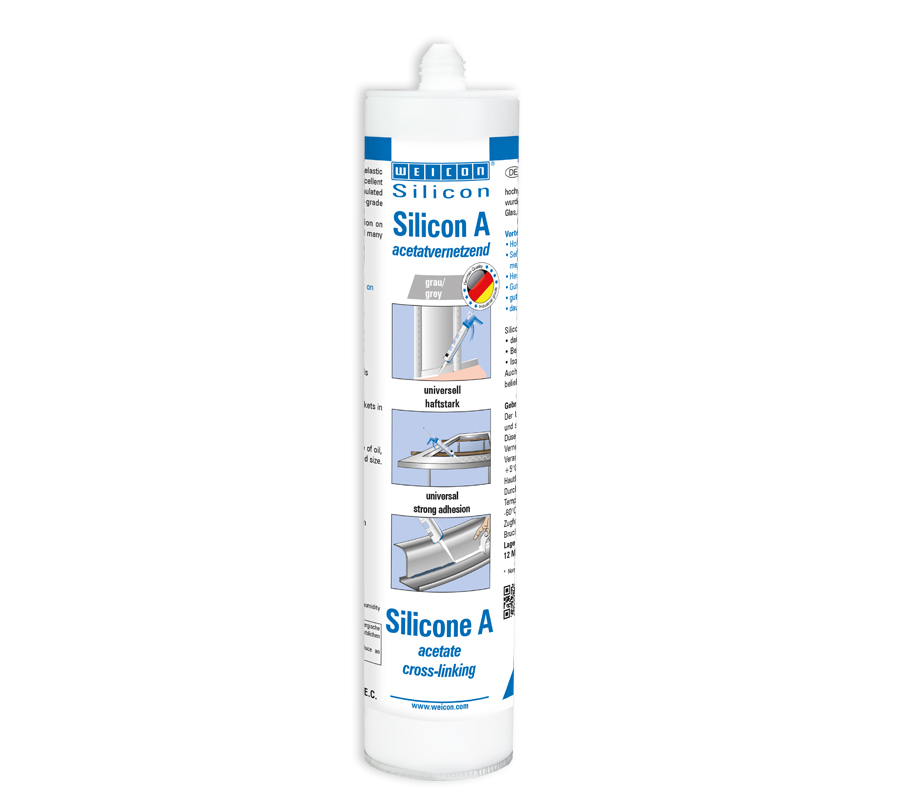
In the end, my brother was thrilled by how fast and easily an old staircase could be lined with laminate. As finishing touches, he attached angle trims to the edges, where the riser and the step meet. He sealed the joints with our WEICON Silicone A (grey).
So what do you think, the result is quite the eyecatcher, isn’t it? I hope you have lots of fun and success with your own staircase renovation project!
Even more “turning old into new”
On our blog, you can find another great DIY project with our Flex 310 M 2 K MS-Polymer. Here, we show you how to turn an old Kallax shelf into a unique piece of furniture with the help of our high-strength adhesive.
Written by guest author Jannik Heidtmann – Product Information Management / Content Management at WEICON

