The mountains are calling! Are you ready?
The winter season is on the doorstep and at higher altitudes, the first snow is falling! Are your skis or snowboards ready to hit the hills? Before your first descent, you should always check your complete gear thoroughly.
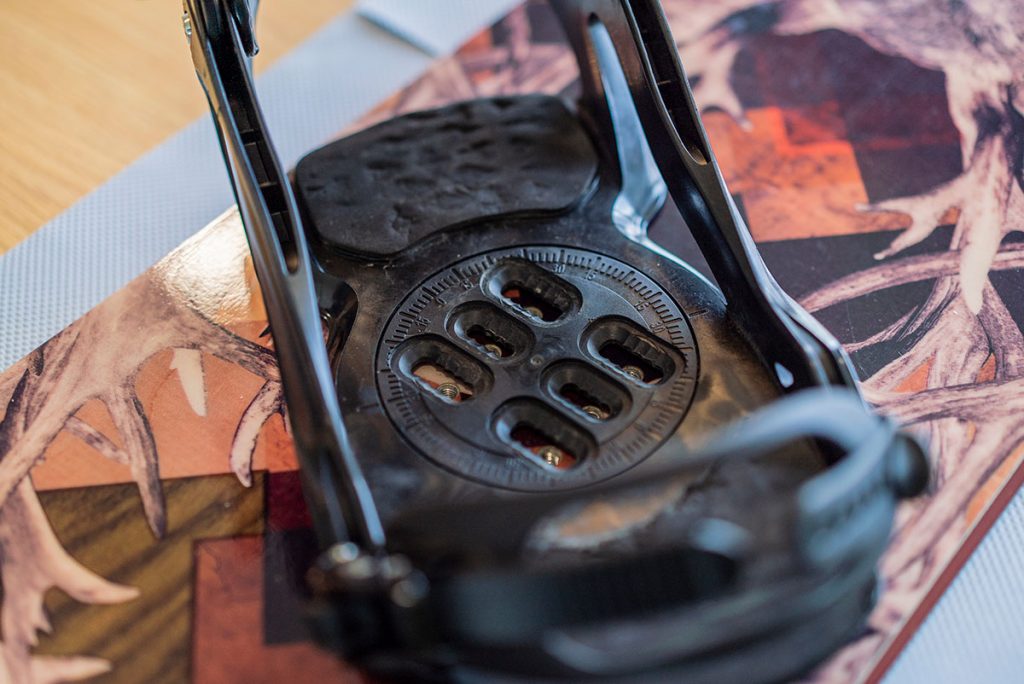
Besides waxing the bases and deburring the edges, this also includes securing ski or snowboard bindings!
I will show you how to prevent loose bindings by means of a fast and easy adhesive bond.
Why securing ski or snowboard bindings additionally?
The binding including the boot is the only connection between you and your ski or board. If you go seperate ways, because the screw connection loosens, it could end very badly. That is why it is definitely a good idea to lock the most important screw connections additionally, so your loyal slope companion won’t let you down in the worst possible moment
The right threadlocking for skis and snowboards
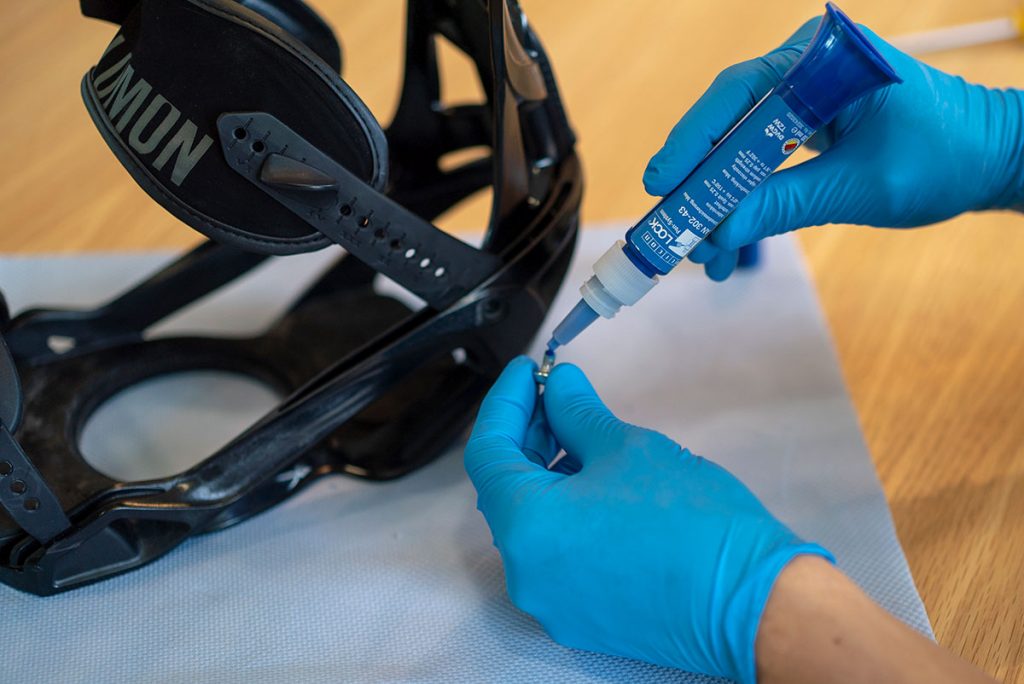
In order to be able to loosen the screws again, you should only use adhesives with low or medium strength. Our WEICONLOCK® AN 302-43 Threadlocking, for example, is perfect for ski or snowboard bindings – it is a medium-strength adhesive and easy to disassemble.

Step-by-step instructions: Securing ski or snowboard bindings
Now I will show you how to securely lock the screw connections with our WEICONLOCK® AN 302-43.
You need
- Threadlocking WEICONLOCK® AN 302-43
- WEICON Surface Cleaner
- Paper towels and gloves
- Screwdriver

Step 1: Cleaning
So what do you need to do first? That’s right, loosen the screws. This is what you should keep in mind while doing so:
- It is important to remember which screw belongs to which part
- Check all screws for defects and replace the damaged ones
- Remove all dirt that may have accumulated during your last tour – don‘t just check the screws, cut also the drill holes
- Remove residues of previous threadlockings as thoroughly as possible with a coarse brush or a cleaning agent and paper towel (our plastic-compatible WEICON Surface Cleaner)
- CAUTION: When locking screws with our WEICONLOCK®, no assembly pastes, greases or lubricating oils may be used
Step 2: Securing
After making sure that all your screws and drill holes are squeaky clean and intact, you can get started with the adhesive bonding:

First, make sure that the binding of the ski or snowboard is adjusted correctly and in the right position over the drill holes.

Then apply the adhesive onto the screws and screw them back into the drill holes.

When tightening the screws, remember: The individual pieces may only have little to no space between each other, yet they need to be able to move without friction. For some screws, the producer specifies torque values.
You can best remove adhesive residues that may have leaked out with our Surface Cleaner.
Then you can lean back and relax for 15 minutes, as that is the time the adhesive needs to build up its strength. So within that period, don’t move the ski or board!
Done! That’s how easy securing ski or snowboard bindings is. Do you have any questions? Feel free to leave a comment below!
Adhesive for tapping screws
Off-Topic
WEICONLOCK Threadlocking – what else do you need it for?
Our products from the WEICONLOCK range are small everyday heroes. They can prevent the unintentional loosening of screws on things you use every day.
Just think, for example, of the many little screws on your bike! In another blog post, we have prepared a racing bike for the upcoming season with the help of our WEICONLOCK® AN 302-44. Have a look here.
1 Comment
A good idea with great focus on the winter season that is beginning.