
Jewellery is much too pretty to hide it in a draw somewhere. It’s way better to be able to hang and present it all neatly and tidily! That can be done, for example, with a jewellery tree – it’s nice to look at and super handy for storing earrings, necklaces and bracelets. I made such a jewellery tree myself and put together the following DIY instructions for you.
Making your own jewellery tree: this is what you need
- a branch that’s as ramified as possible
- WEICON Brass Spray
- a flower pot
- pebbles/decorative sand

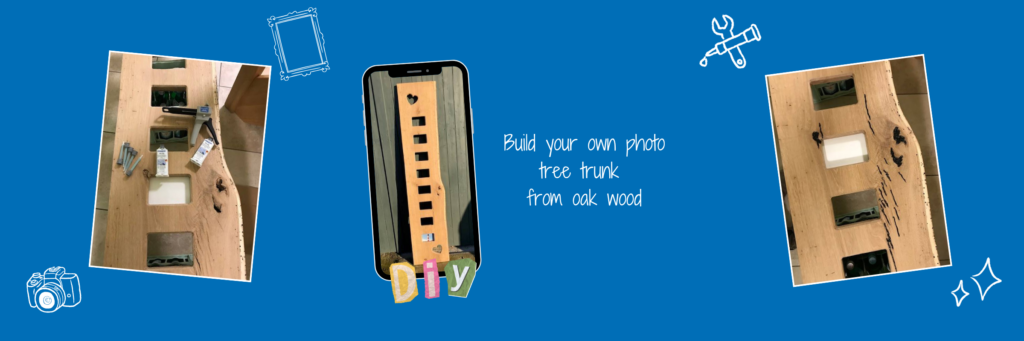
DIY instructions | making your own jewellery tree
Into the woods – finding the right branch
You would like to make your own jewellery tree? Then the most important element is, of course, the branch. During your next nature walk, watch out for a ramified and stable branch that can easily carry all your jewellery. And please: For the trees‘ sake only collect branches that have already dropped on the ground. I assure you there’s plenty of those out in the woods!

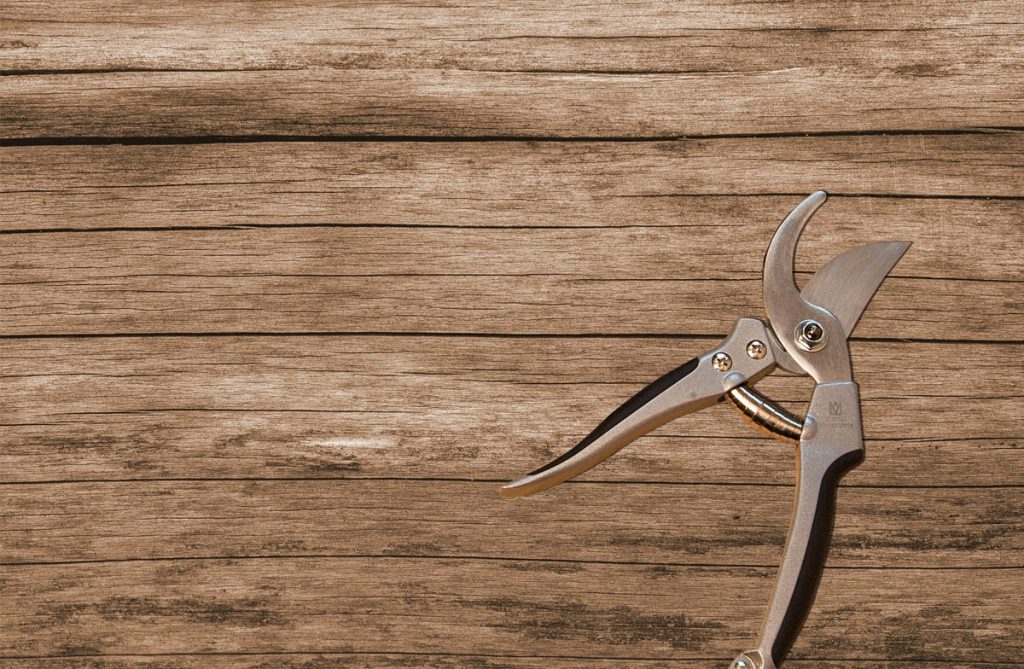
Prune it – cutting the branch to the right size
Once you have found the ultimate branch for your jewellery tree, you might have to prune it using garden shears. My branch, for example, was a little too long, so I trimmed it a bit.
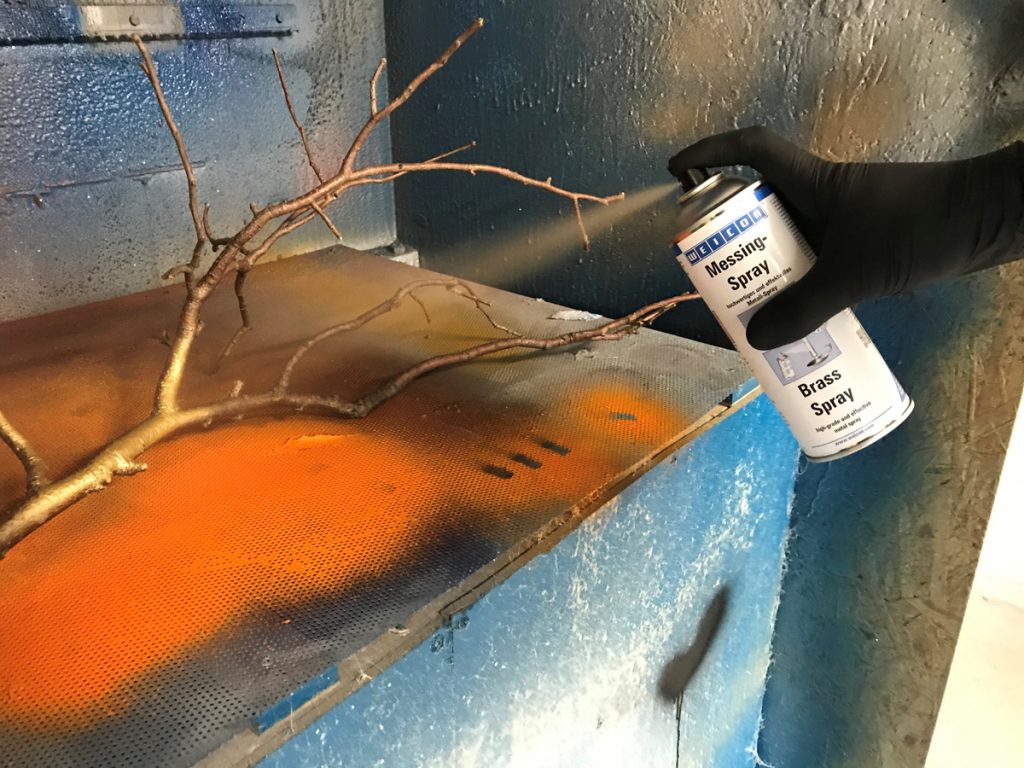
Make it shine – spraying the branch
In order to make your DIY jewellery tree a real eyecatcher, you can make it shine with our WEICON Brass Spray. When using the Copper Spray, you should keep in mind the following tips: It’s best to apply the spray outside in fresh air and to not wear your best Sunday clothes.
Also: Shake the can well before use and spray the product onto the dried branch at room temperature from a distance of approximately 25 centimetres. The coating is dust-dry after approximately 10 minutes and fully cured after four to six hours.
Make a base – stabilise the jewellery tree
Last but not least, your DIY jewellery tree needs the right stability so it doesn’t tip over. Just like a real tree needs its roots to anchor it in the soil. In our case, the roots of the DIY jewellery tree are made of a flower pot filled with enough decorative sand. You can also use pebble stones from a hardware store. The only important thing is not to scrimp on the filling, so it reliably holds the jewellery tree in place.


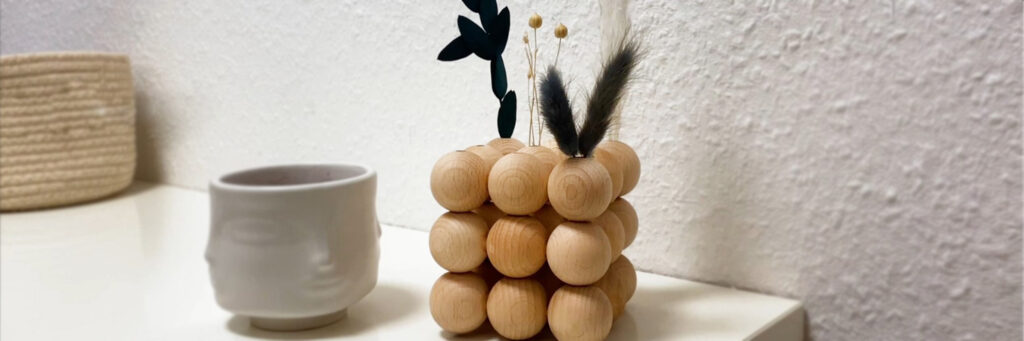
Finished jewellery tree
And here you can see the finished jewellery tree! I hope you have a lot of fun making your own jewellery tree. Apropos: I’m sure your friend, girlfriend, sister or mother would also be thrilled to get this handy DIY present for Christmas!
Make your own jewellery
Speaking of jewellery: On the WEICON Blog, we have already shown how to easily make your own jewellery of epoxy adhesive. Curious? Then read on here!
Written by Annabelle Kreft
