Let me guess! You came to our blog, because you’re looking for a stylish DIY key rack for your workshop, right? In that case – congratulations, you’ve come to the right place! In this blog post, I will show you how to transform a simple combination wrench into a DIY key rack. Thanks to its convenient hooks, it gives your apartment, car, bike keys and so on a handcrafted home.
What you need
Before I will show you step by step how to turn a wrench into a DIY key rack, here’s a list of all the materials you will need:

Materials DIY key rack
- 1 x combination wrench, as large as possible (WS 30)
- 5 x Allen Screws 5 mm x 20 mm
- 2 x slotted square hooks with screw head
- 2 x wall plugs (suitable for slotted hooks)
Tools
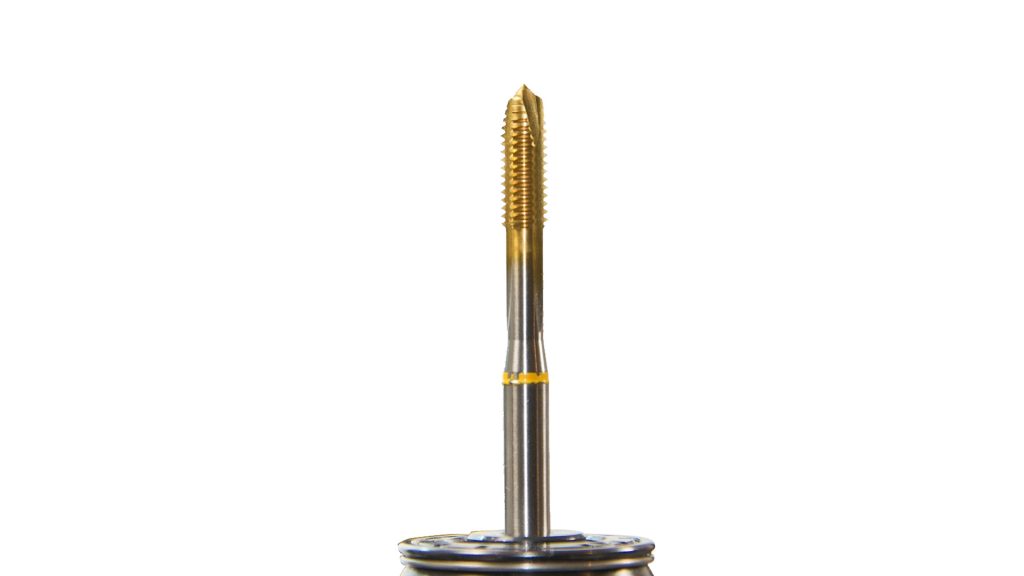
- tap drill for threads M5
- HSS steel drill for 4.2 mm steel, alternatively 4.5 mm
- center punch
- hammer
- drill machine
WEICON products
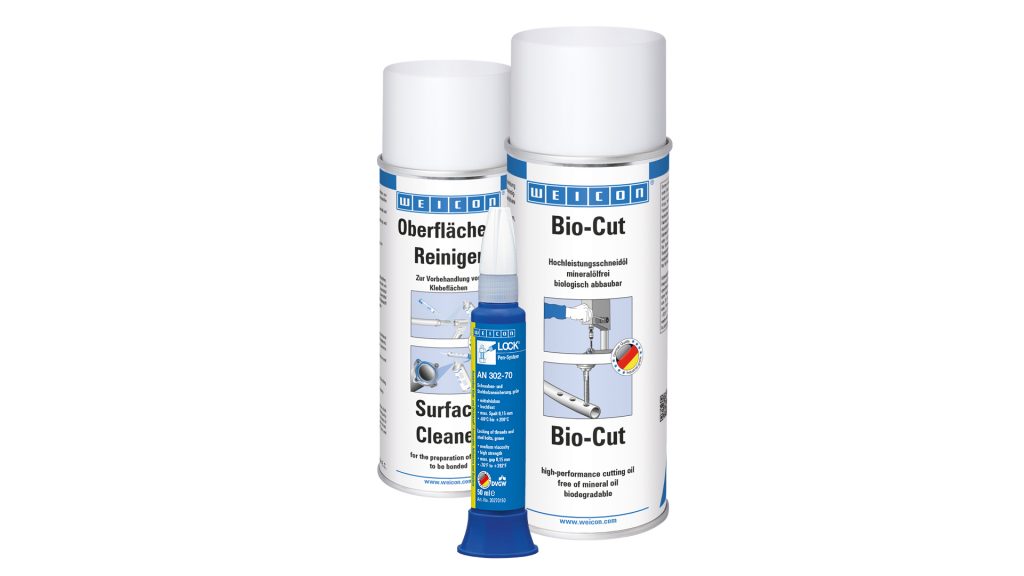
- WEICON Surface Cleaner
- WEICON Bio-Cut
- WEICONLOCK® AN 302-70
Instructions DIY wrench key rack
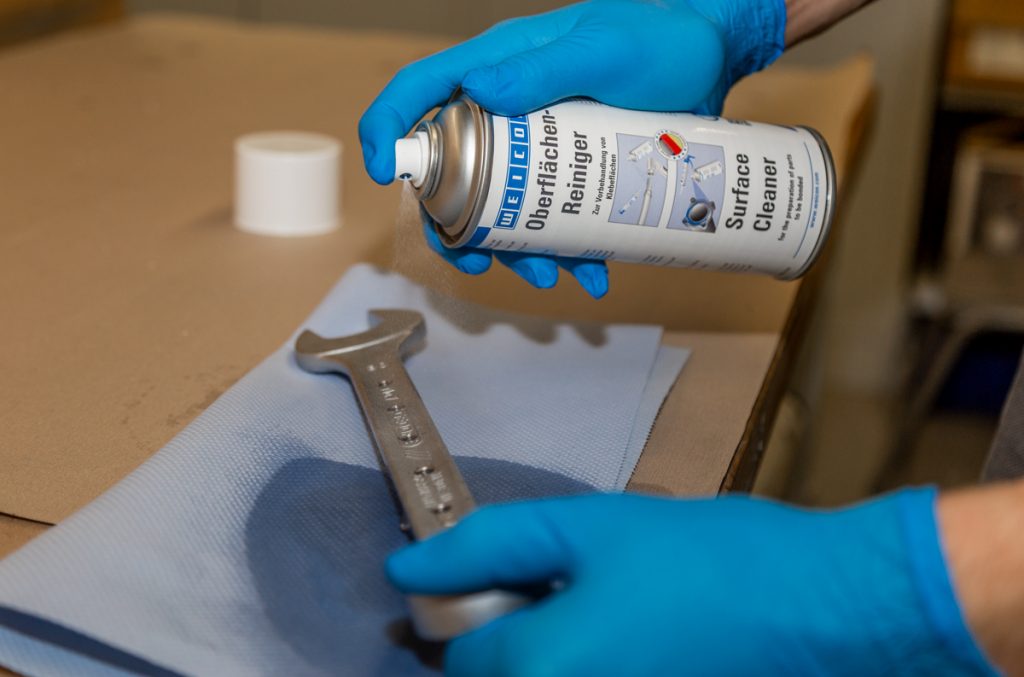
Step 1: Clean the combination wrench
First of all, you should remove all dirt and grease from the wrench with WEICON Surface Cleaner. Especially if the wrench is old and used, thorough cleaning is essential. For particularly old and rusty ones, you can use our WEICON Rust Converter. With the use of a little WEICON Zinc Spray afterwards, the tool will look as good as new. If you prefer a rusty vintage look, however, you should skip the Zinc Spray.
Step 2: Drill holes for key hooks
First, mark the position where you want your hook to be. Then grab the center punch and create small dimples on the wrench surface, where you previously marked the hook positions, with a light hammer stroke. These will help to align your drill in the next step. Now take the twist drill and drill holes into the metal at low speed. Keep applying WEICON Bio-Cut – our cutting oils for metals.
Now you have the drill holes, yet still no threads to hold the screws. To create these, use the tap drill or drills (taper tap etc.).
Step 3: Attach the hooks
Your DIY workshop key rack is nearly finished! All you need to do now is screw the hooks or, in this case, the Allen screws into the threads.
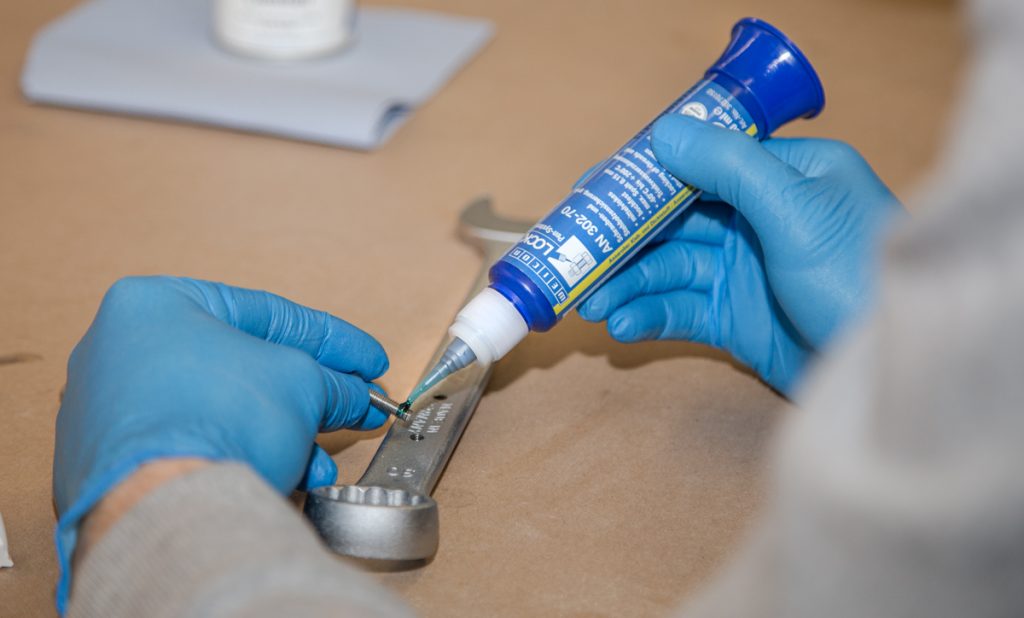
But wait, at this point, our Threadlocker WEICONLOCK® AN 302-70 comes into play. That way, you ensure that the Allen screws won’t come loose unintentionally over time due to the constant hanging and taking off the keys.
Clean the wrench again using our Surface Cleaner and apply a small amount of the Threadlocker to the Allen Screws. Then carefully screw them into the threads.
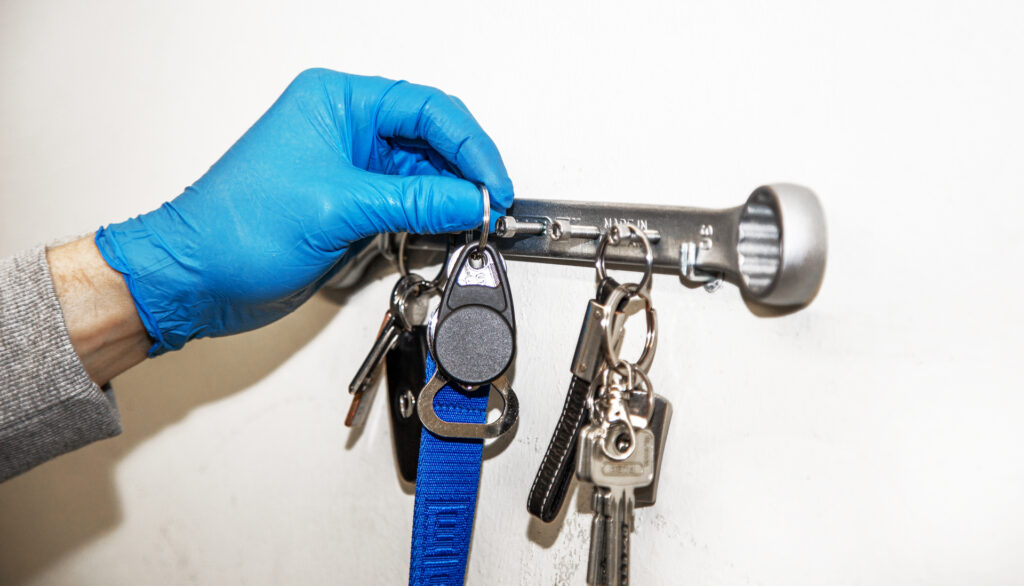
Finally, you can mount the finished DIY key rack on the wall by means of the slotted square hooks.
More interior design ideas for your workshop
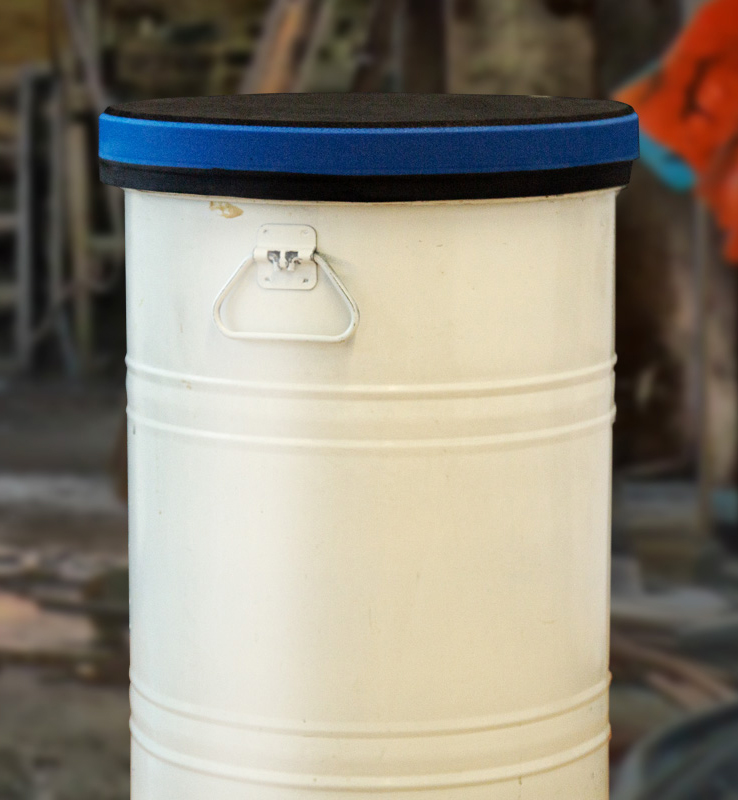
Are you looking for more interior design ideas for your workshop? Then maybe you’ll also enjoy this instruction for a DIY workshop stool with industrial look.
Written by guest author Fabian Filip – Dual-Education Student at WEICON