Putting sharp kitchen knives loosely in the drawer is not the best idea. Are you still looking for an attractive and practical way to store your knives? We’ll present you a magnetic DIY knife holder that you can easily build yourself. To be more precise, we have even prepared two variants

Version 1 – The stand-up knife board
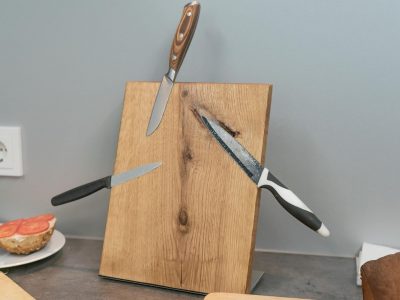
A knife block made of wood is not only convenient, but also nice to look at. With our magnetic version, you can store your knives in a decorative way.

Version 2 – The wall-hung knife holder
A space-saving version is a magnetic knife board on the niche panelling. Don’t worry, you can attach the board to the surface without drilling. This means there are no holes in the tiles or other surface material.
Here’s what you need
- Wood (e.g.oak) in the desired size
- WEICON Bio-Fluid
- WEICON Epoxy Minute Adhesive (with or without mixing nozzle)
- Neodym magnets (N52, 20 mm diameter)
- Forstner drill bit
- Gloves
For the stand-up knife board:
- Aluminium composite panel
- Metal or wood for the foot
- Possibly screws (for fastening the foot if it is not going to be bonded)
For the wall-hung DIY knife holder:
- WEICON Speed-Flex Crystal
- Cartridge knife
- Cartridge gun
Preparation
First get a nice piece of wood and, if necessary, cut it to the right size. You can choose your individual size and use the size and number of your knives as a guide. If you decide to build the stand-up knife block, bevel the top and bottom of your piece of wood to about 30°.
Drilling the holes for the magnets
To hold the knives in place on the wood later on, we use magnets. These will be bonded into previously drilled holes. And that’s exactly what this step is about. Decide how many knives you want to put on your DIY knife holder and how you want to arrange them. Depending on the strength and size of the magnets, you will need one or two magnets to hold a knife.
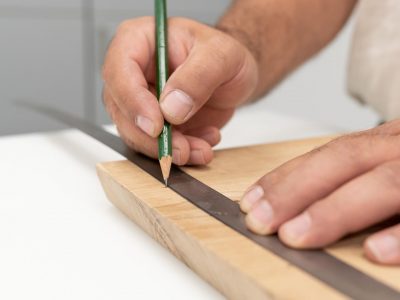
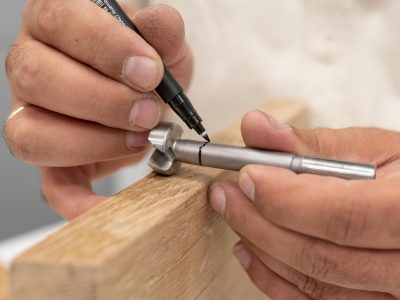
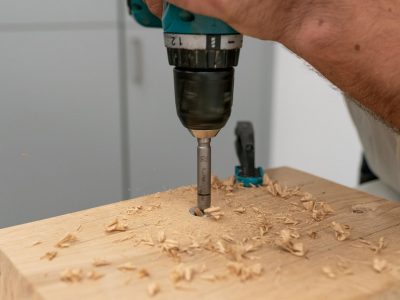
Now mark the spots for the the drill holes on the back of the wood. It’s best to measure the distances beforehand. A Forstner drill bit with a slightly larger diameter than your magnets is a good choice for drilling the holes. When drilling, make sure that your drill holes are deep, but not all the way through the wood! Work your way slowly into the wood and mark the depth on your Forstner bit after the first hole. A water-soluble pen is a good solution for this.
Bonding the magnets
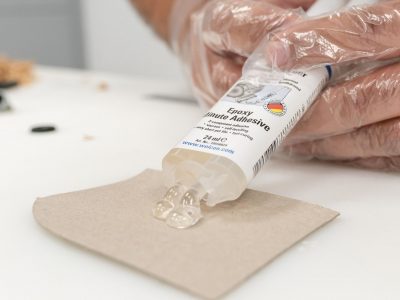
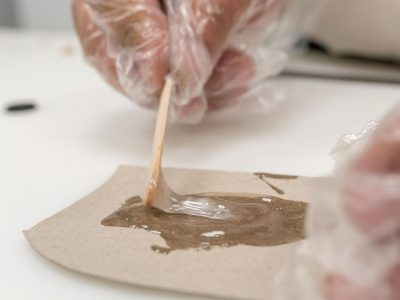
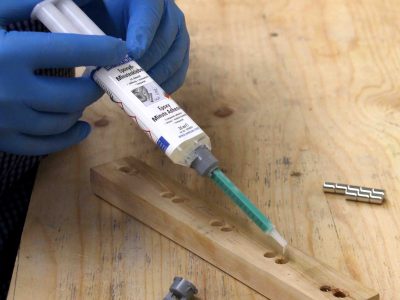
You did it! In the next step, apply the WEICON Epoxy Minute Adhesive into the drill holes (NOT directly onto the magnets). You can either apply the adhesive to a piece of cardboard and mix the two components with a wooden stick, or use a mixing nozzle and pour the Epoxy Minute Adhesive straight into the holes.
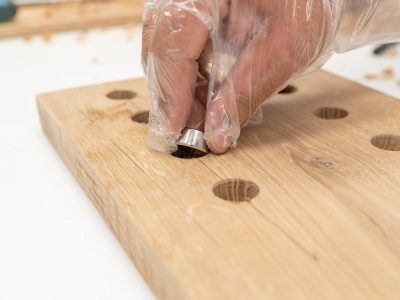
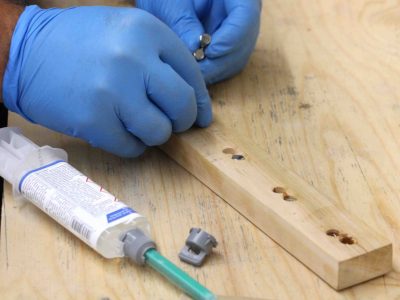
Next, applying some dexterity, insert one magnet after the other into each hole. Make sure that the magnets are inserted the right way round and do not turn accidentally. As the Epoxy Minute Adhesive only takes very little time to cure (approx. 5 minutes), you should work quickly and insert the magnets directly after applying the adhesive.
As soon as all the magnets are bonded, tighten them again properly. To do this, simply run a piece of metal or a magnetic counterpole carefully along the wood from the other side.
After five minutes, our Epoxy Minute Adhesive is already fully cured and it’s time for the next step.
For visual effect
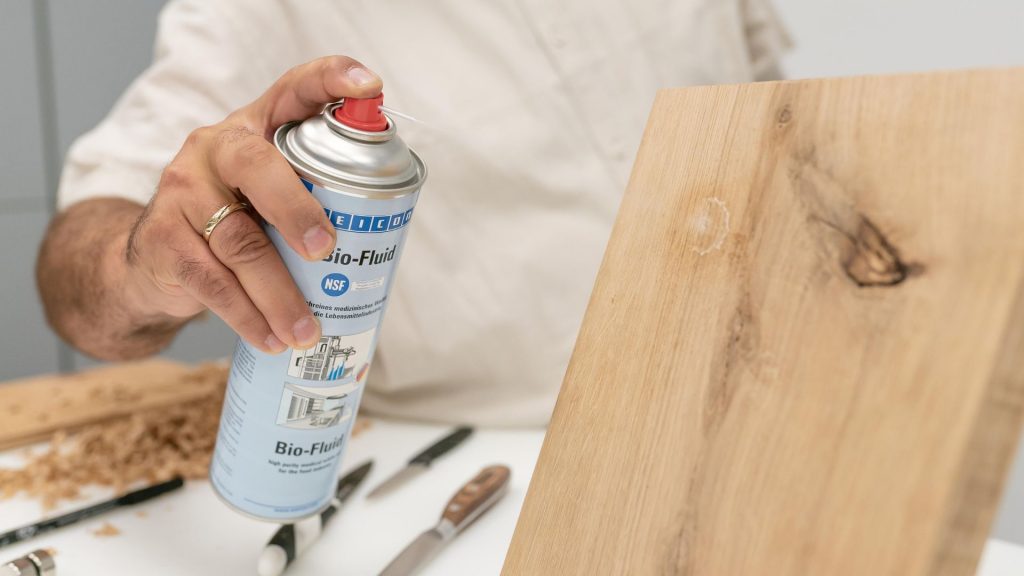
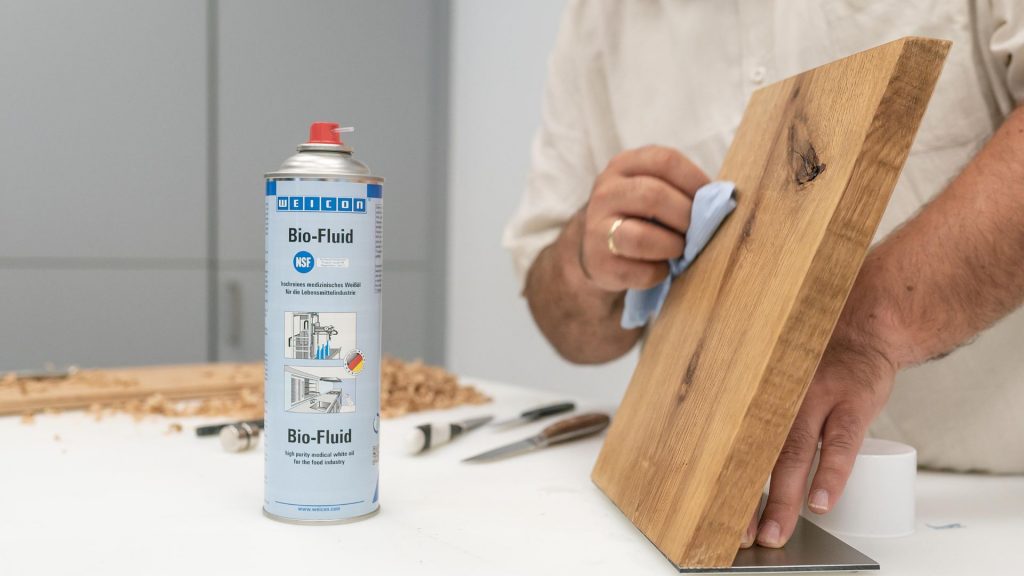
Your magnetic DIY knife holder made of wood should not only be practical, but also look good. That’s why we recommend treating the wood with our WEICON Bio-Fluid afterwards. This special care oil is solvent-free, odourless, tasteless and water-repellent. Due to its NSF approval (product certification in the field of food safety), the Bio-Fluid is safe to use for our knife holder. You can simply spray on the oil and work it in with a lint-free cloth.
Very important: If you are buidling the wall-hung knife board, do not oil the back of the board! Otherwise the adhesive for attaching the knife board to the wall will not stick later.
Before using the knife holder, you should let the Bio-Fluid soak in for approx. 24 hours.
The assembly
Attaching a foot to the knife block
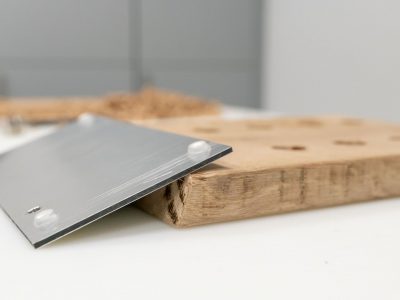
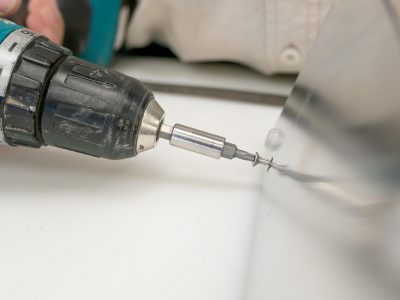
You have decided on version 1 – the stand-up knife board? Then keep on reading. For the stand, you can use a suitable piece of aluminium composite panel, metal or wood, depending on your taste. Simply screw it to the underside of the knife block. Now you can attach your knives to it and find a nice place for the block in your kitchen.
Mounting the knife board to the wall
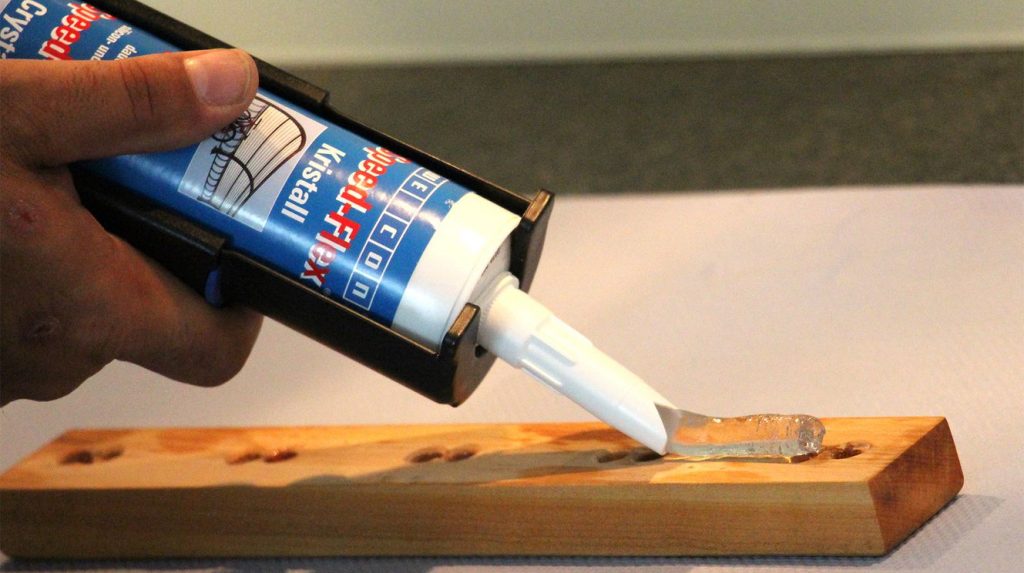
After the adhesive is cured, the magnets are attached securely in their holes and the Bio-Fluid has dried, you can mount the board to the niche panelling. Which you can do entirely without drilling! For example, with our Speed-Flex® Crystal. The adhesive replaces conventional fastening methods such as screws, dowels or rivets and is easy to use.
A bead of the adhesive on the back of the DIY knife holder is all that is needed. The wood must now be pressed lightly against the previously cleaned surface. The very high initial strength of the adhesive makes a fixation unnecessary in many cases. The next day you can hang up your knives and enjoy your homemade magnetic knife holder.
Even more kitchen helper stories
Our Bio-Fluid was already used for another handy kitchen helper: In this post, we’ve shown you how to repair a damaged cutting board.
Written by guest author Mona Schele
