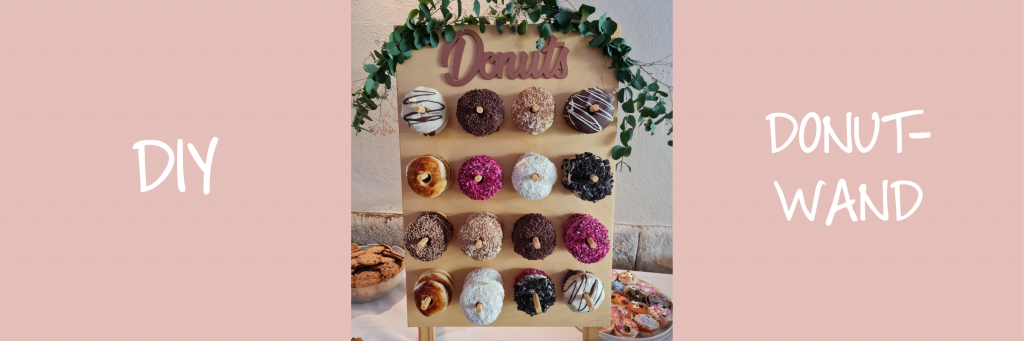
You want to know how you can build a donut wall for a wedding? Then you’ve come to the right place! In this blog post, I’ll show how you can easily recreate this wedding trend in six simple steps.
This is what you need for the donut wall
Before you get started, here’s a list of all the materials you’ll need for the donut wall.
Materials:
- Plywood sheet with the dimensions 40 x 60 cm
- Round rod with a diameter of 14 mm
- Wooden folding trestle, such as this one
- Donut lettering, such as this one
- For decoration: eucalyptus branches and baby’s breath
Tools:
- Cordless screwdriver with 14 mm Forstner drill bit for the rod holes Cotton cloth
- Cotton cloth
- Saw to cut the rods to size
- Fine sandpaper
- Pencil for marking
- Ruler or tape measure for measuring the hole distances
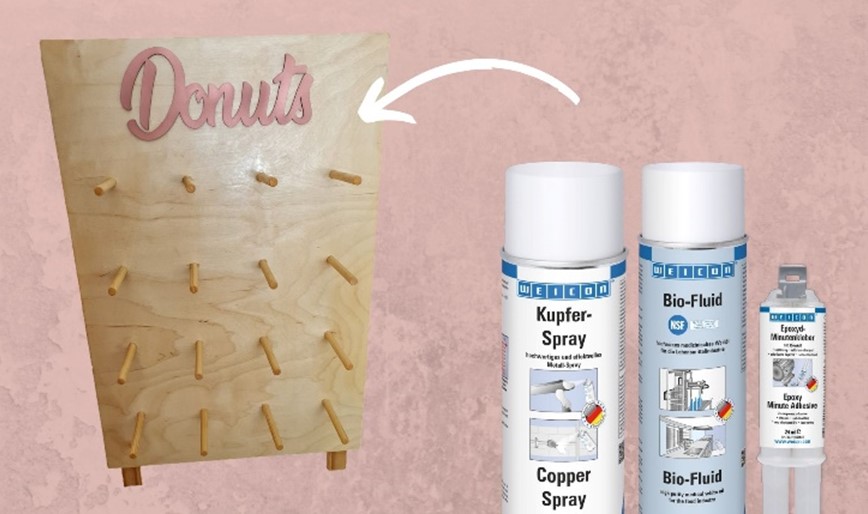
WEICON products:
Step-by-step instructions for your DIY wedding donut wall
Step 1: Processing the plywood
Everything ready to hand? Then you can start crafting your wedding donut wall! In the first step, you sand down corners and the edges of the plywood a little. Then use the pencil to mark the holes on the sheet. Next, drill holes into the sheet at the marked points using the 14 mm Forstner drill bit. Do not drill all the way through the sheet. Tip: Measure exactly how far apart the holes need to be beforehand, so the donuts will have enough space to fit, depending on their size. By the way, the holes must have the same diameter as the rods, in this case 14 mm.
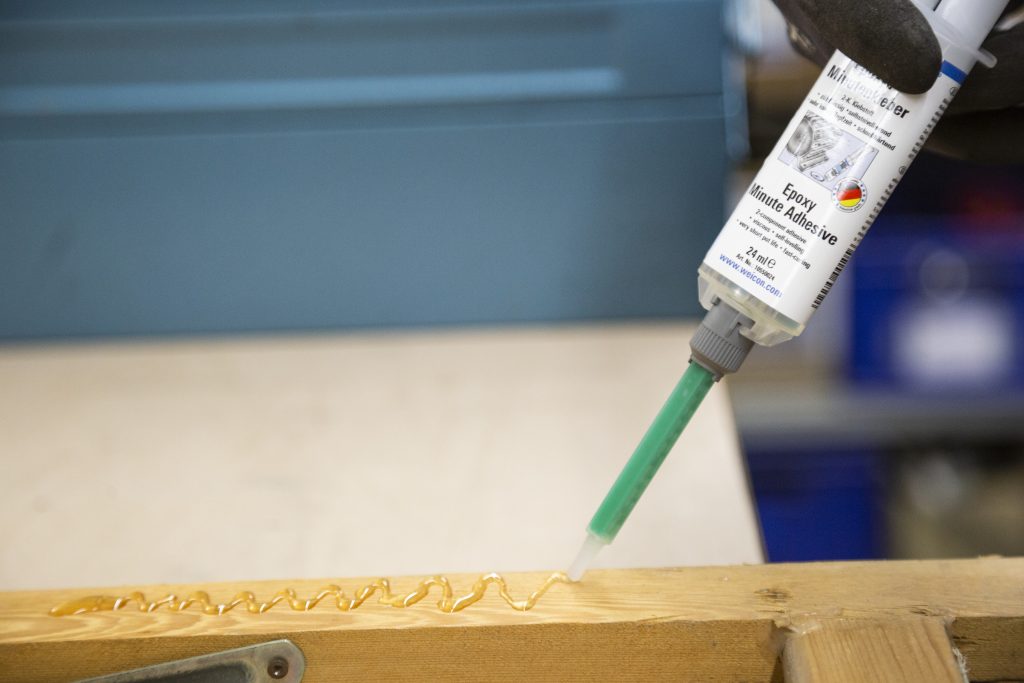
Step 2: Attach stand
Now it’s time to attach the wooden folding trestle to the back of the plywood. This will make your DIY donut wall stand upright securely. For this step, you will need our WEICON Epoxy Minute Adhesive. Apply it in serpentine lines to the side of the legs that are pressed onto the board. Then, while applying a little pressure, place the side of the wooden folding trestle that has been wetted with the adhesive on the back of the plywood sheet. Keep it still for at least five minutes so that the glue can set without any movement. The Epoxy Minute Adhesive is fully cured after 24 hours.
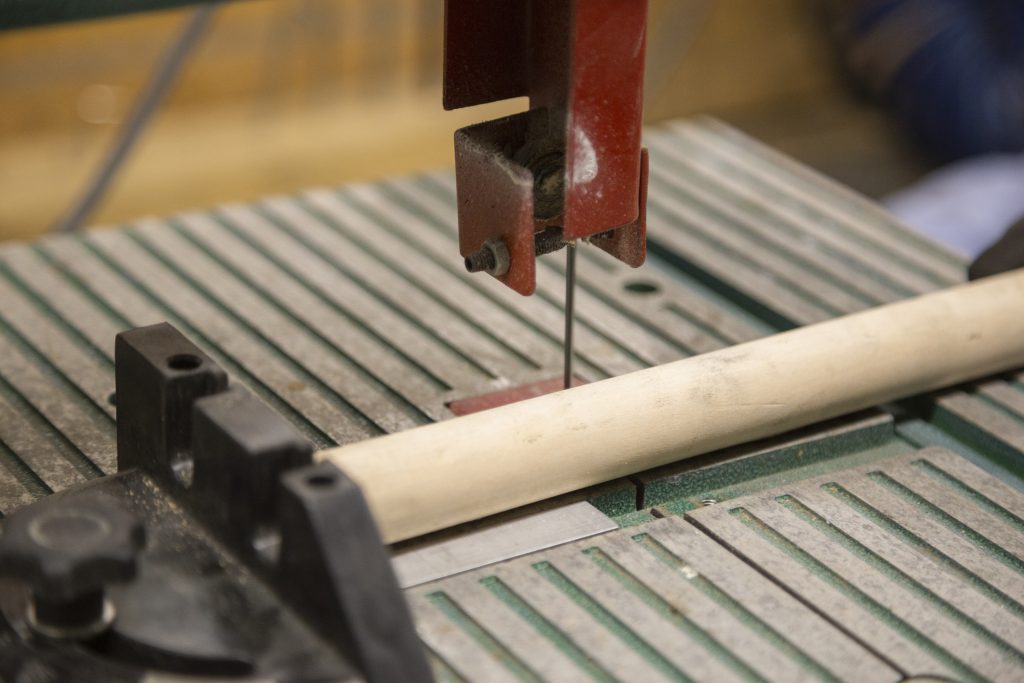
Step 3: Process rods
Cut the rods to the desired length, so they can hold an appropriate amount of donuts. Expert tip: To make the rods stay in place even better, I recommend that you don’t just stick them into the wooden holes, but fix them with our Epoxy Minute Adhesive. Don’t apply the glue to the rods themselves, but pour a small amount into the holes. This allows the air in the hole to escape and the adhesive to spread evenly, once you insert the rods. In addition, you should bevel the ends of the rods a little using sandpaper. This makes it easier to place them in the holes and also to thread the donuts.
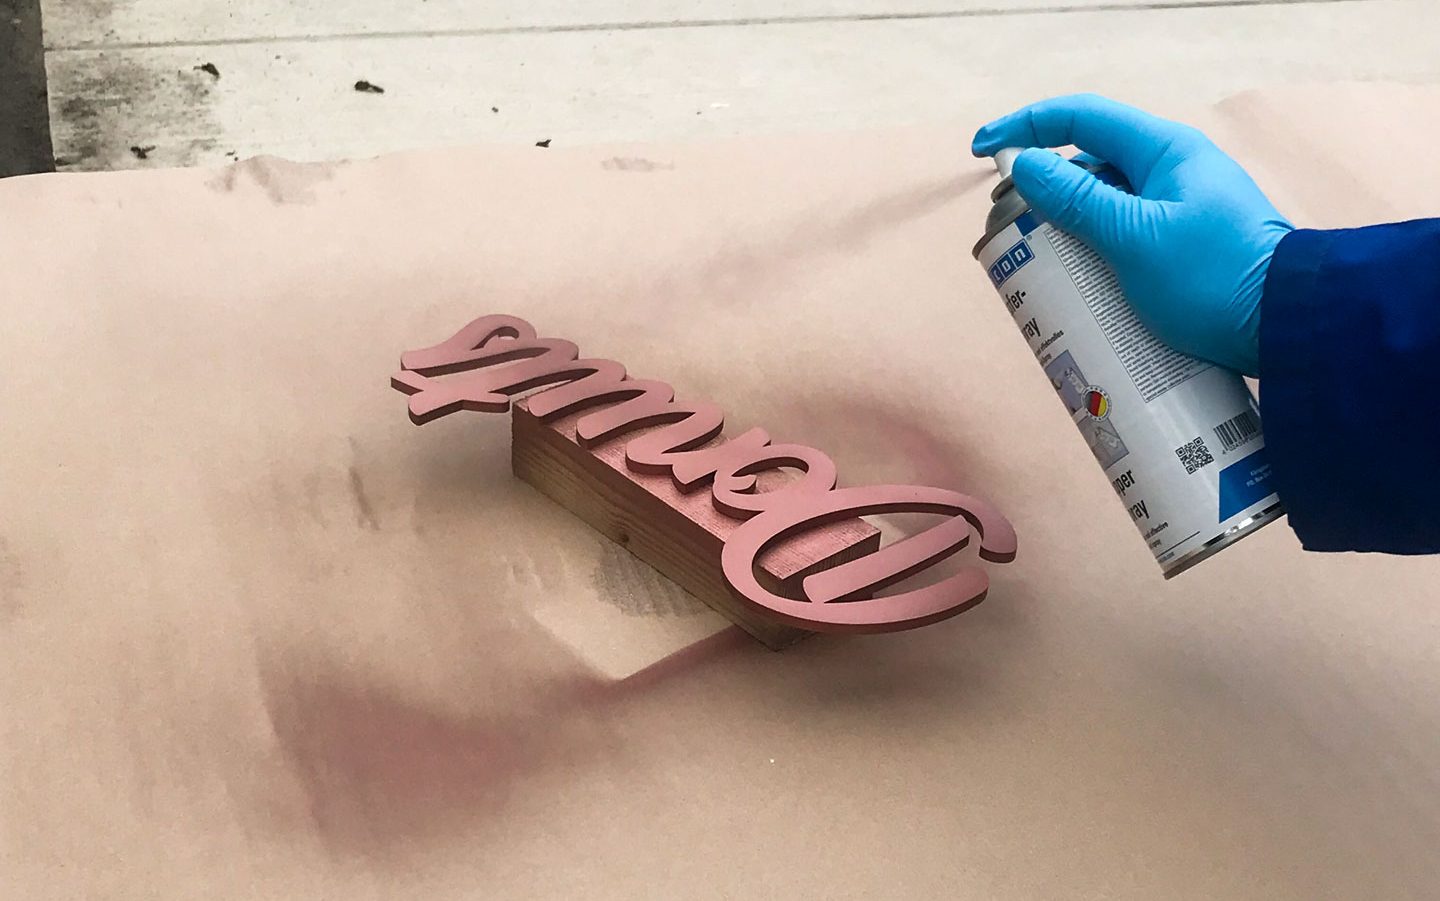
Step 4: Paint and apply lettering
Now it’s time to spray paint the donut lettering for your DIY wedding donut wall. Spray the lettering with WEICON Copper Spray from a distance of approx. 20-30 cm evenly from left to right and from top to bottom. If necessary, repeat it. But be careful: If you apply a second coat, it is important that the first coat has had time to dry for at least ten minutes. Once the copper spray is dry enough, apply the Epoxy Minute Adhesive to the back of the lettering. Then fixate it in the place where you want it using a piece of tape, so the adhesive has time to set for at least five minutes.
Now our wedding donut wall is almost done!
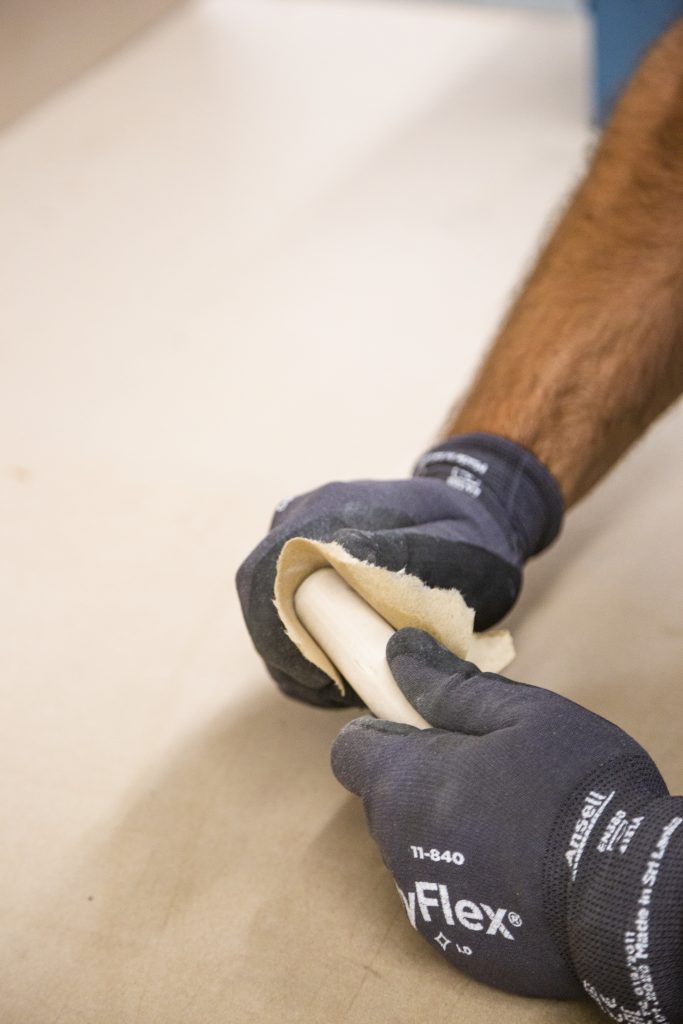
Step 5: Treatment of the wood
The next step is to treat the wood. For this, you will need our WEICON Bio-Fluid. It is important to apply the oil only after the rods and the lettering have been glued in place, otherwise the Epoxy Minute Adhesive will not adhere. By treating the wood with Bio-Fluid, you ensure that the wood grain is enhanced or visually emphasized. It also protects the wood surface from unattractive grease stains. Thanks to its NSF approval for the food sector, the oil is ideal for our little DIY project. By the way, it can also be used to care for wooden kitchen cutting boards. Apply the Bio-Fluid to the wooden sheet and the rods and spread it using the cotton cloth. Once you have treated all surfaces with a liberal amount of the oil, you should allow it to soak in for one day.
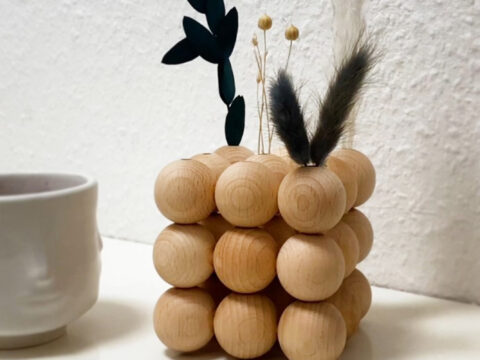
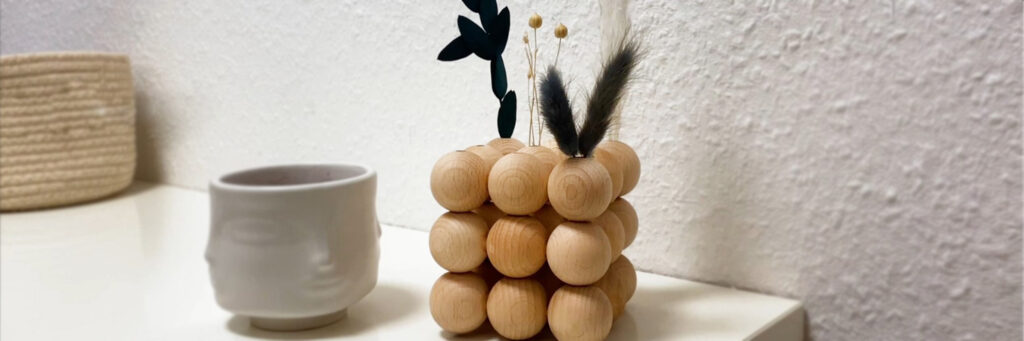
Step 6: Fill and decorate donut wall
Finally, it’s time to apply the finishing touches and to decorate the DIY donut wall: take the eucalyptus branches and baby’s breath and decorate the wall to your own taste. But enough with crafting part – now it’s time to bake! Because without the delicious donuts, the most important thing is still missing. If you like, you can use this recipe, for example. Then hang the ring-shaped yeast pastry on the rods and the donut wall for the wedding day is ready!
So you have built your own DIY donut wall in just a few steps – an real eye-catcher at any wedding, which is guaranteed to glam up the buffet!

Written by guest author Lina Stoffer – working student public relations